Between Flights

  • How to Spend an Afternoon in Rome: The Perfect Half-Day Itinerary

    How to Spend an Afternoon in Rome: The Perfect Half-Day Itinerary

    You don’t need an entire week to fall in love with Rome.

    Whether you have a long layover, arrive early before checking into your hotel, or simply have one free afternoon, you can still experience some of the city’s most iconic landmarks.

    During my afternoon in Rome, I visited the Colosseum, Trevi Fountain, and the Vatican Museums—all in just a few hours.

    Here’s exactly how I did it.

    Where to Store Your Luggage at Rome Fiumicino Airport (FCO)
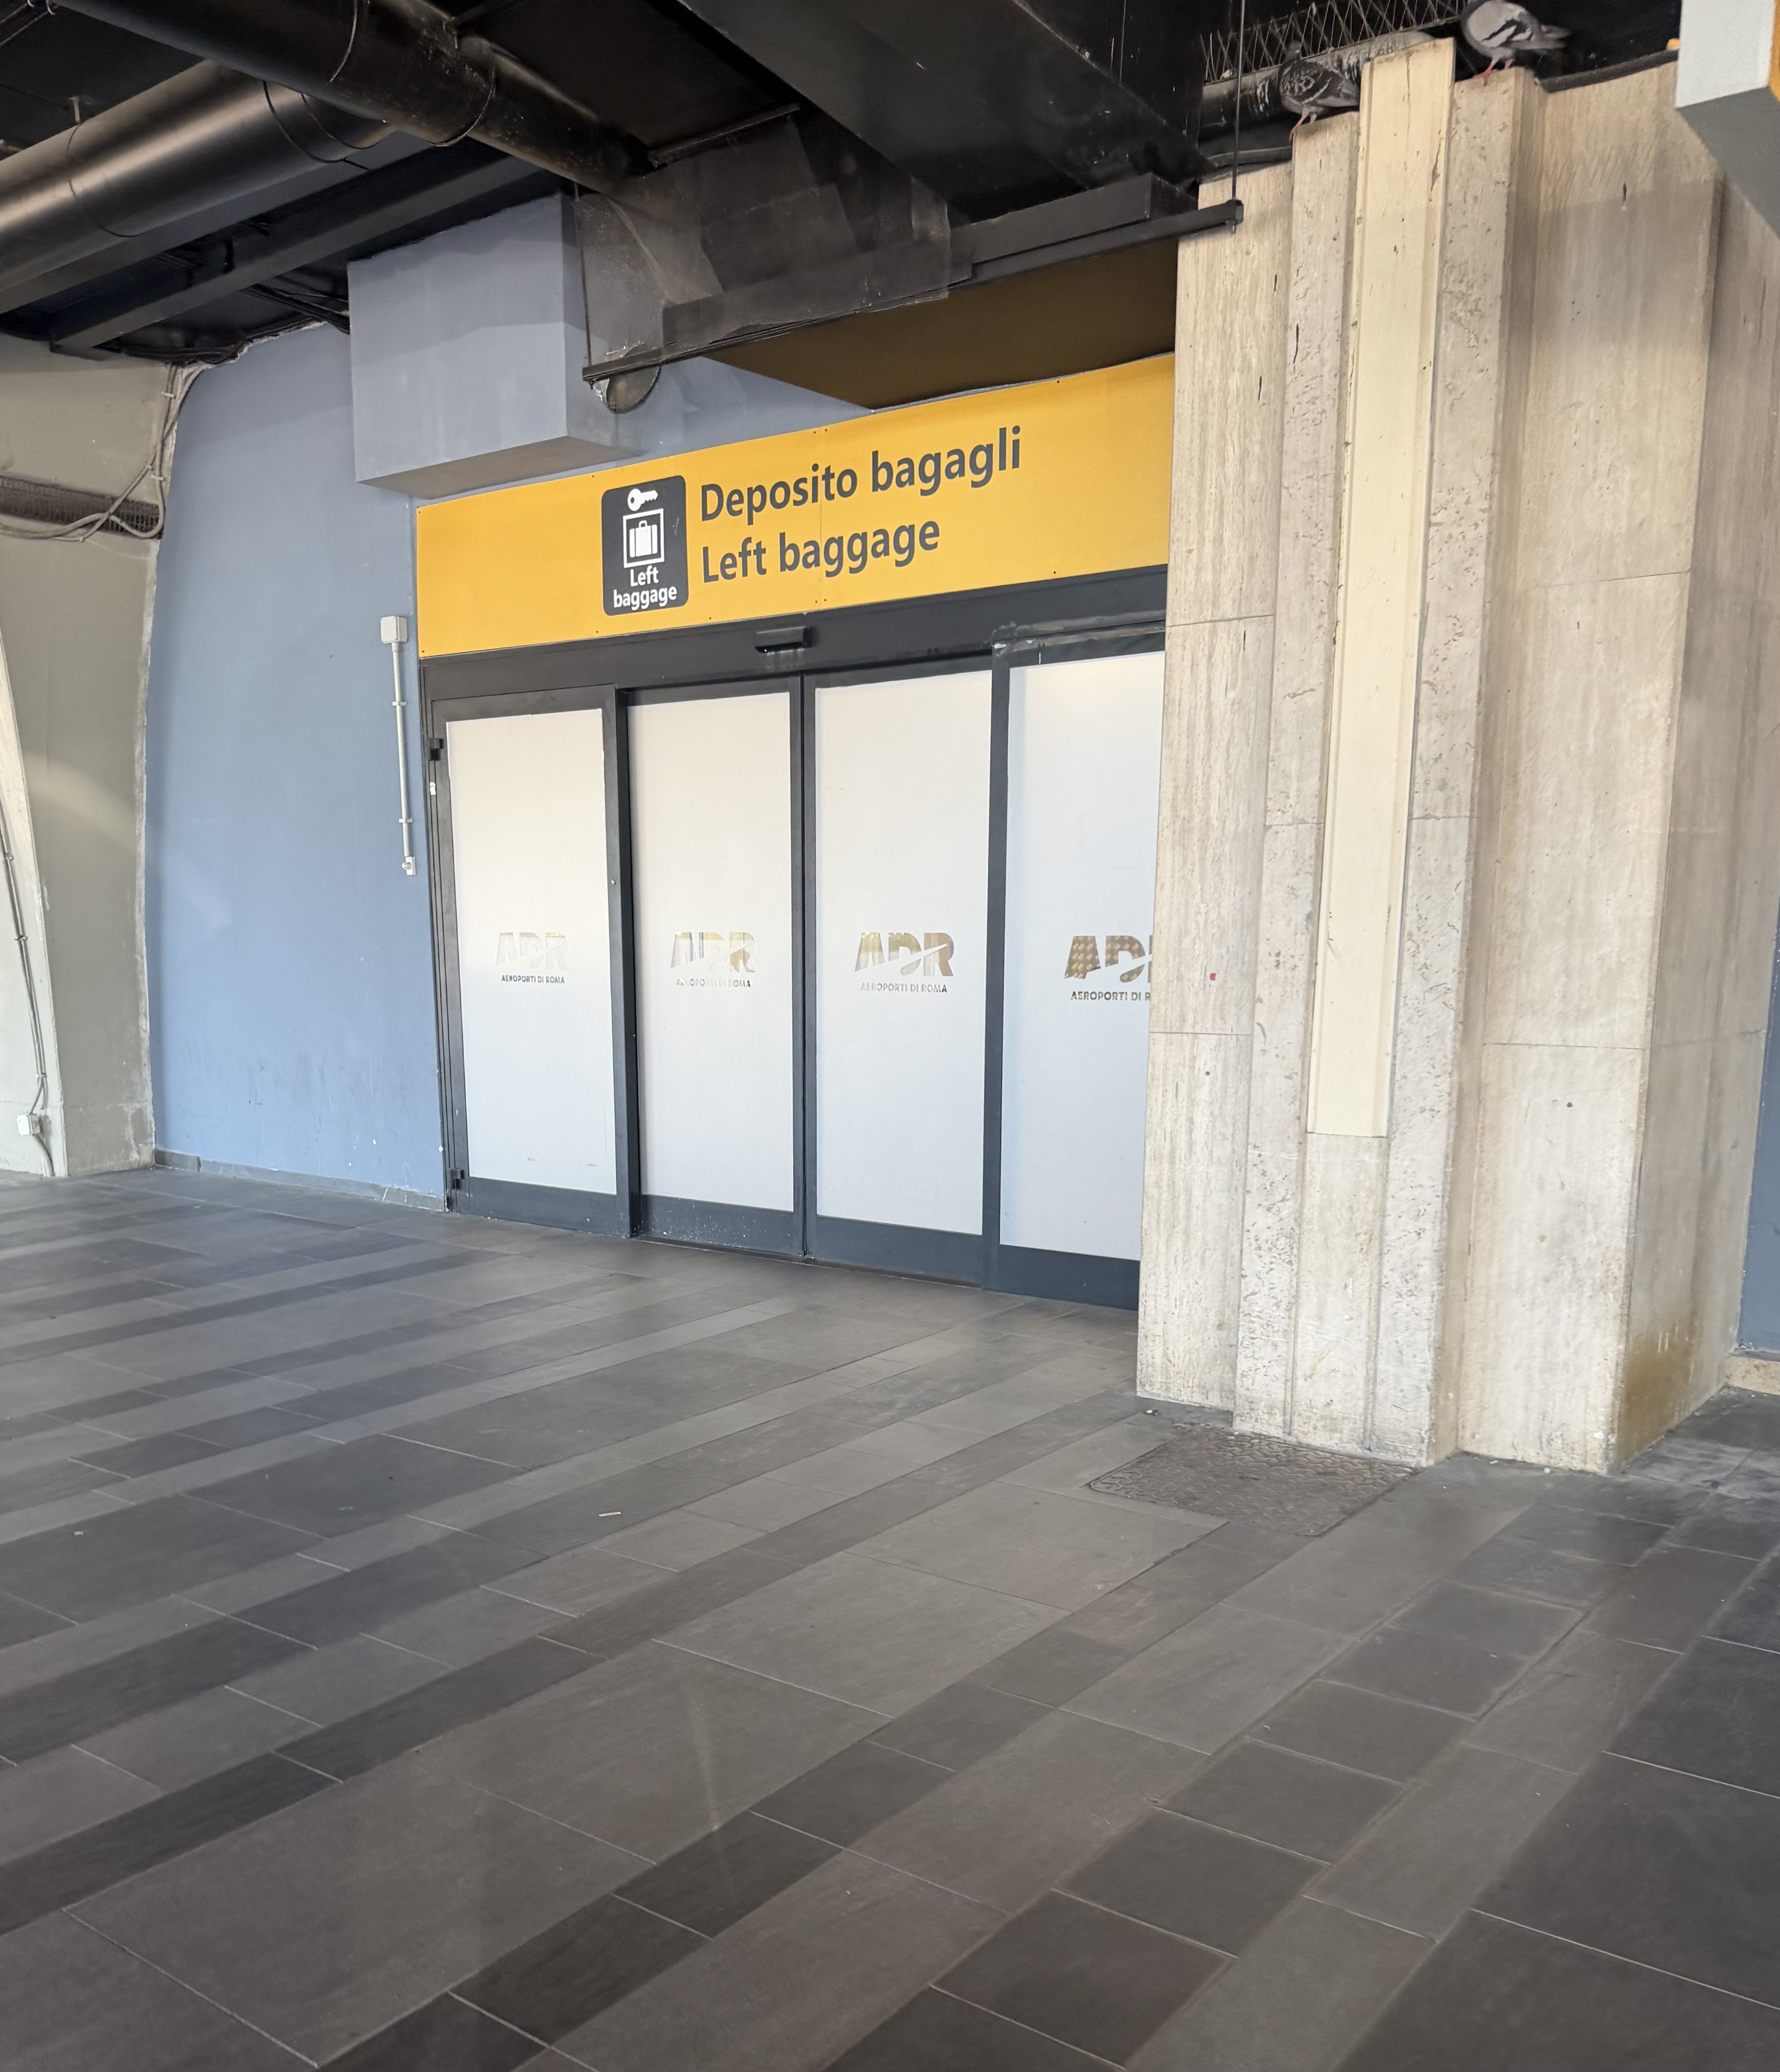
    Before heading into the city, I stored my luggage at “Left Luggage” at Rome Fiumicino Airport (FCO).

    Finding the luggage storage was incredibly easy.

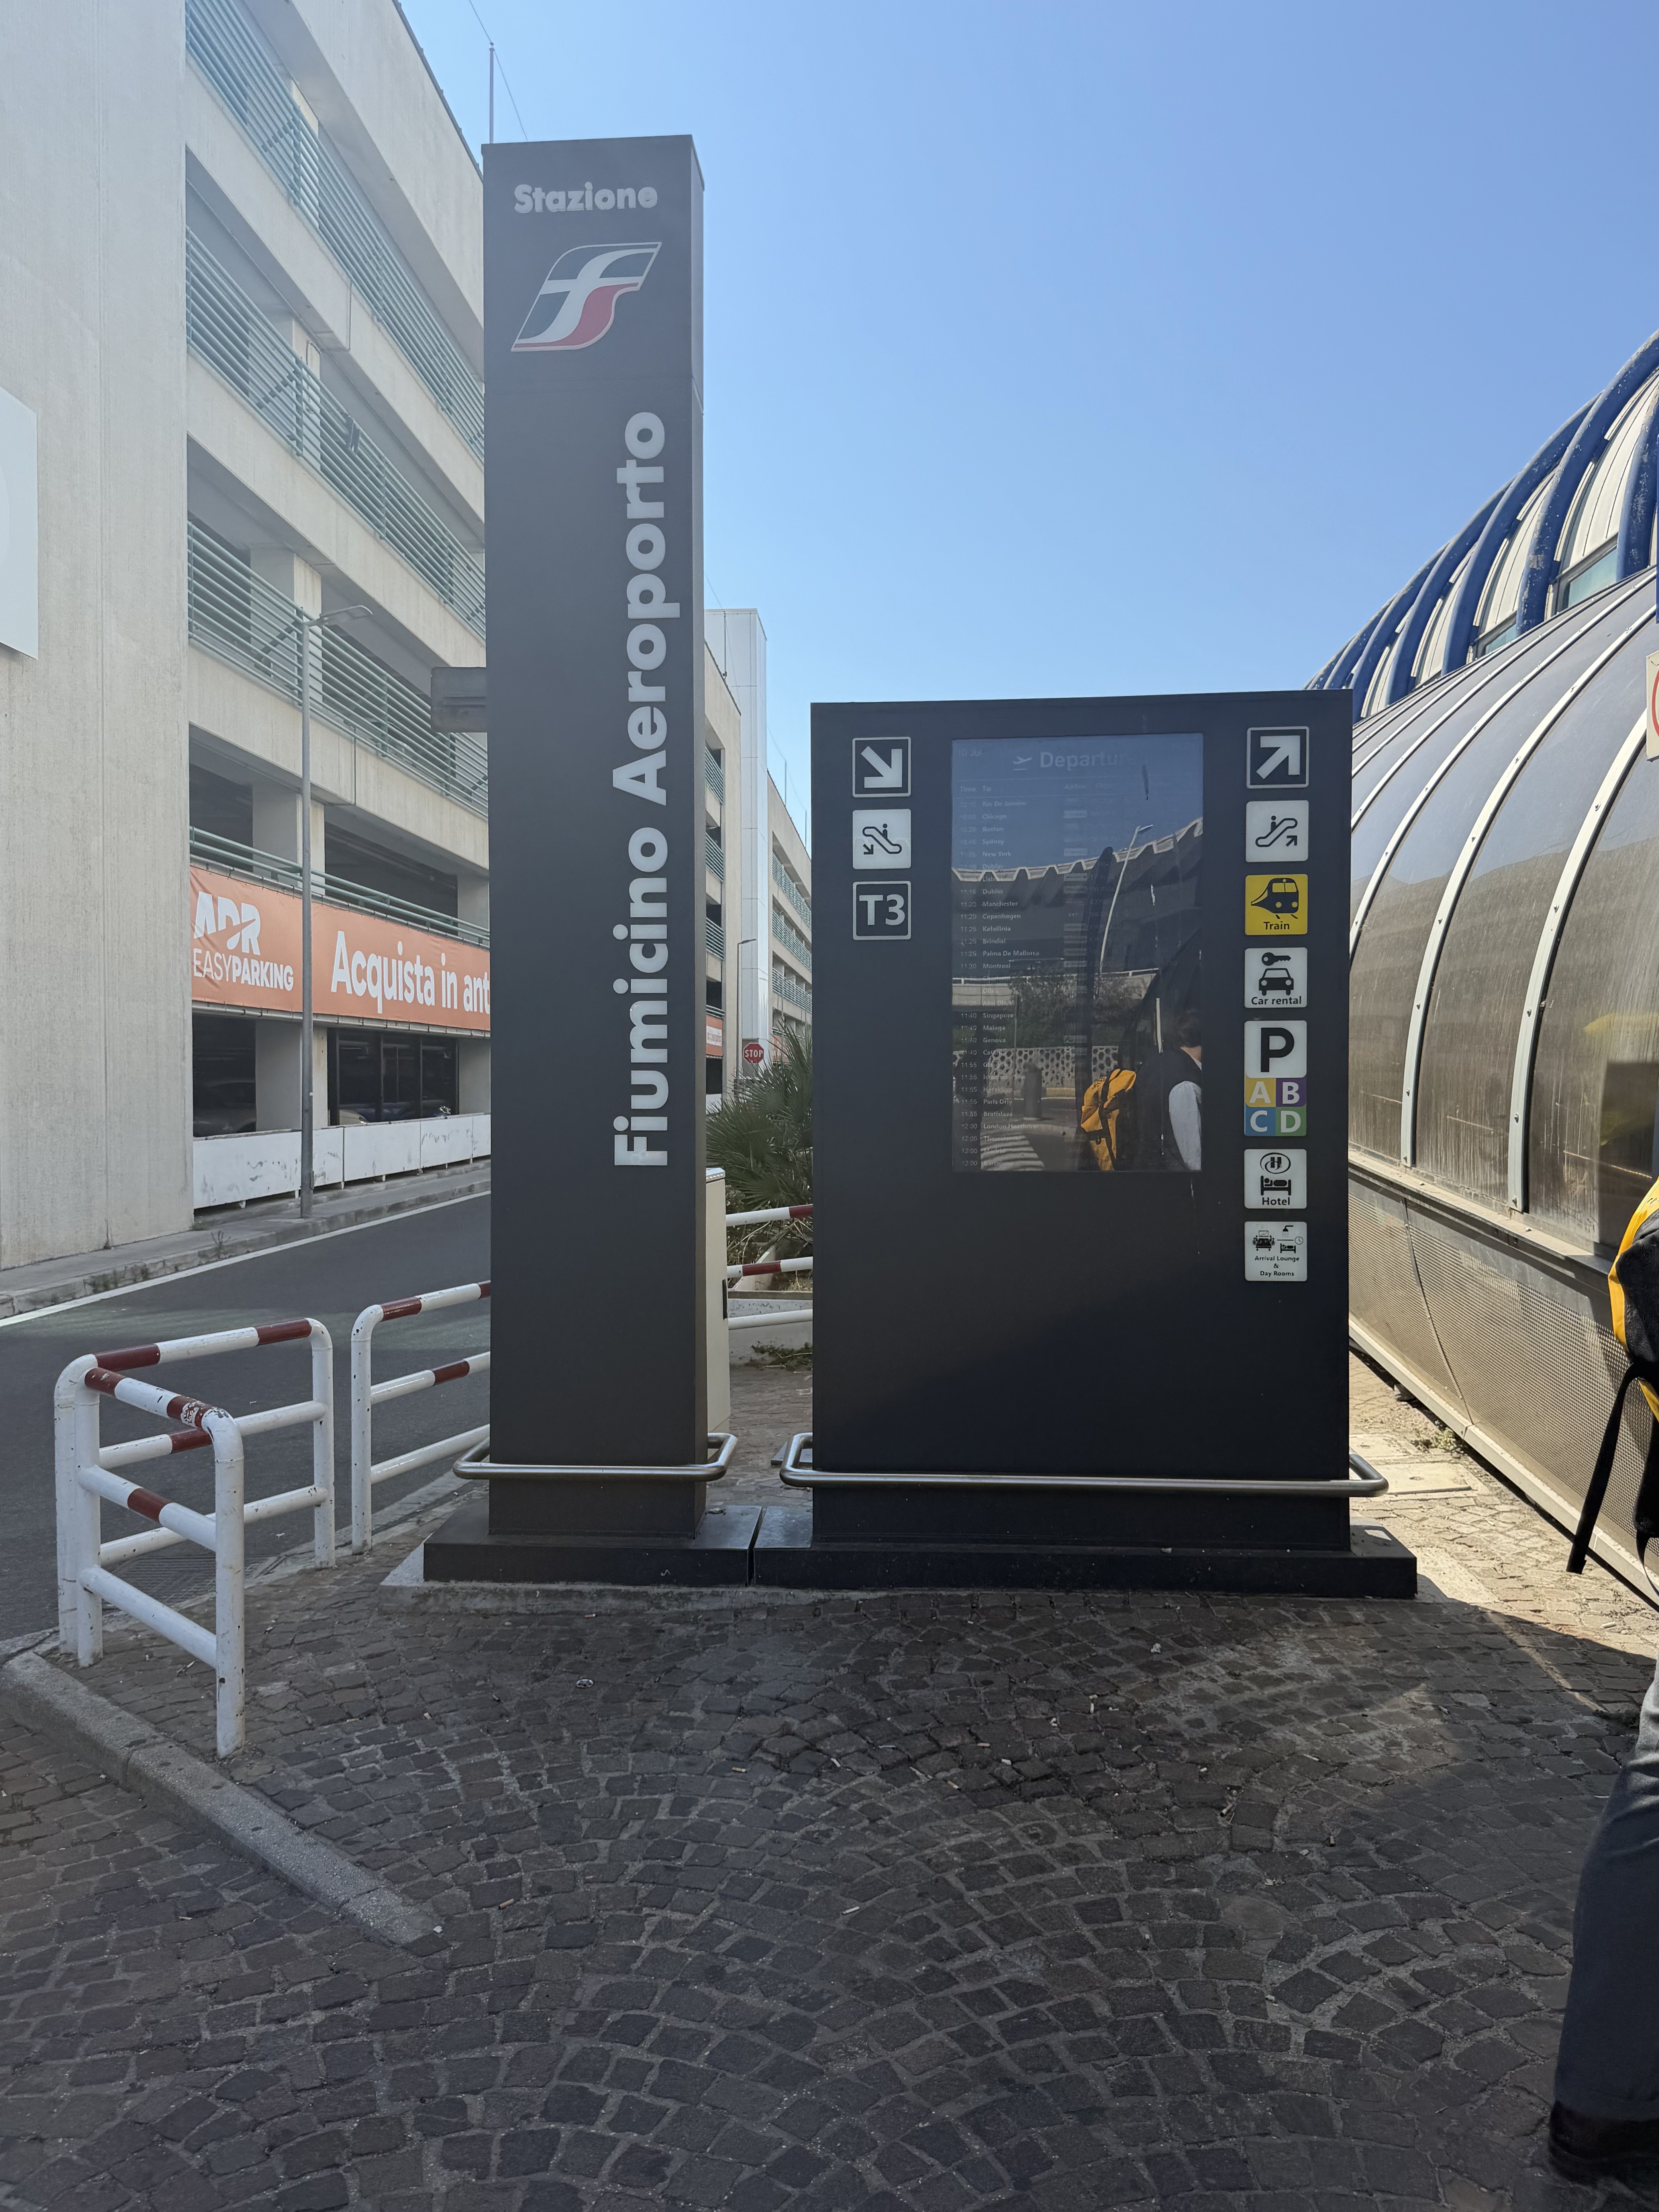
    After exiting baggage claim in Terminal 3, I followed the yellow signs pointing towards the transportation options, turned right towards the bus station, and found the Left Luggage at Rome Fiumicino Airport (FCO) conveniently located right beside it.

    I paid  $10 per piece of luggage, within just a few minutes, my bags were checked in and I was on my way to explore Rome.

    How to Take the Train from Fiumicino Airport to the Colosseum

    The train station is conveniently located directly across the street from the Left Luggage facility, making it an easy next stop after dropping off your bags. 
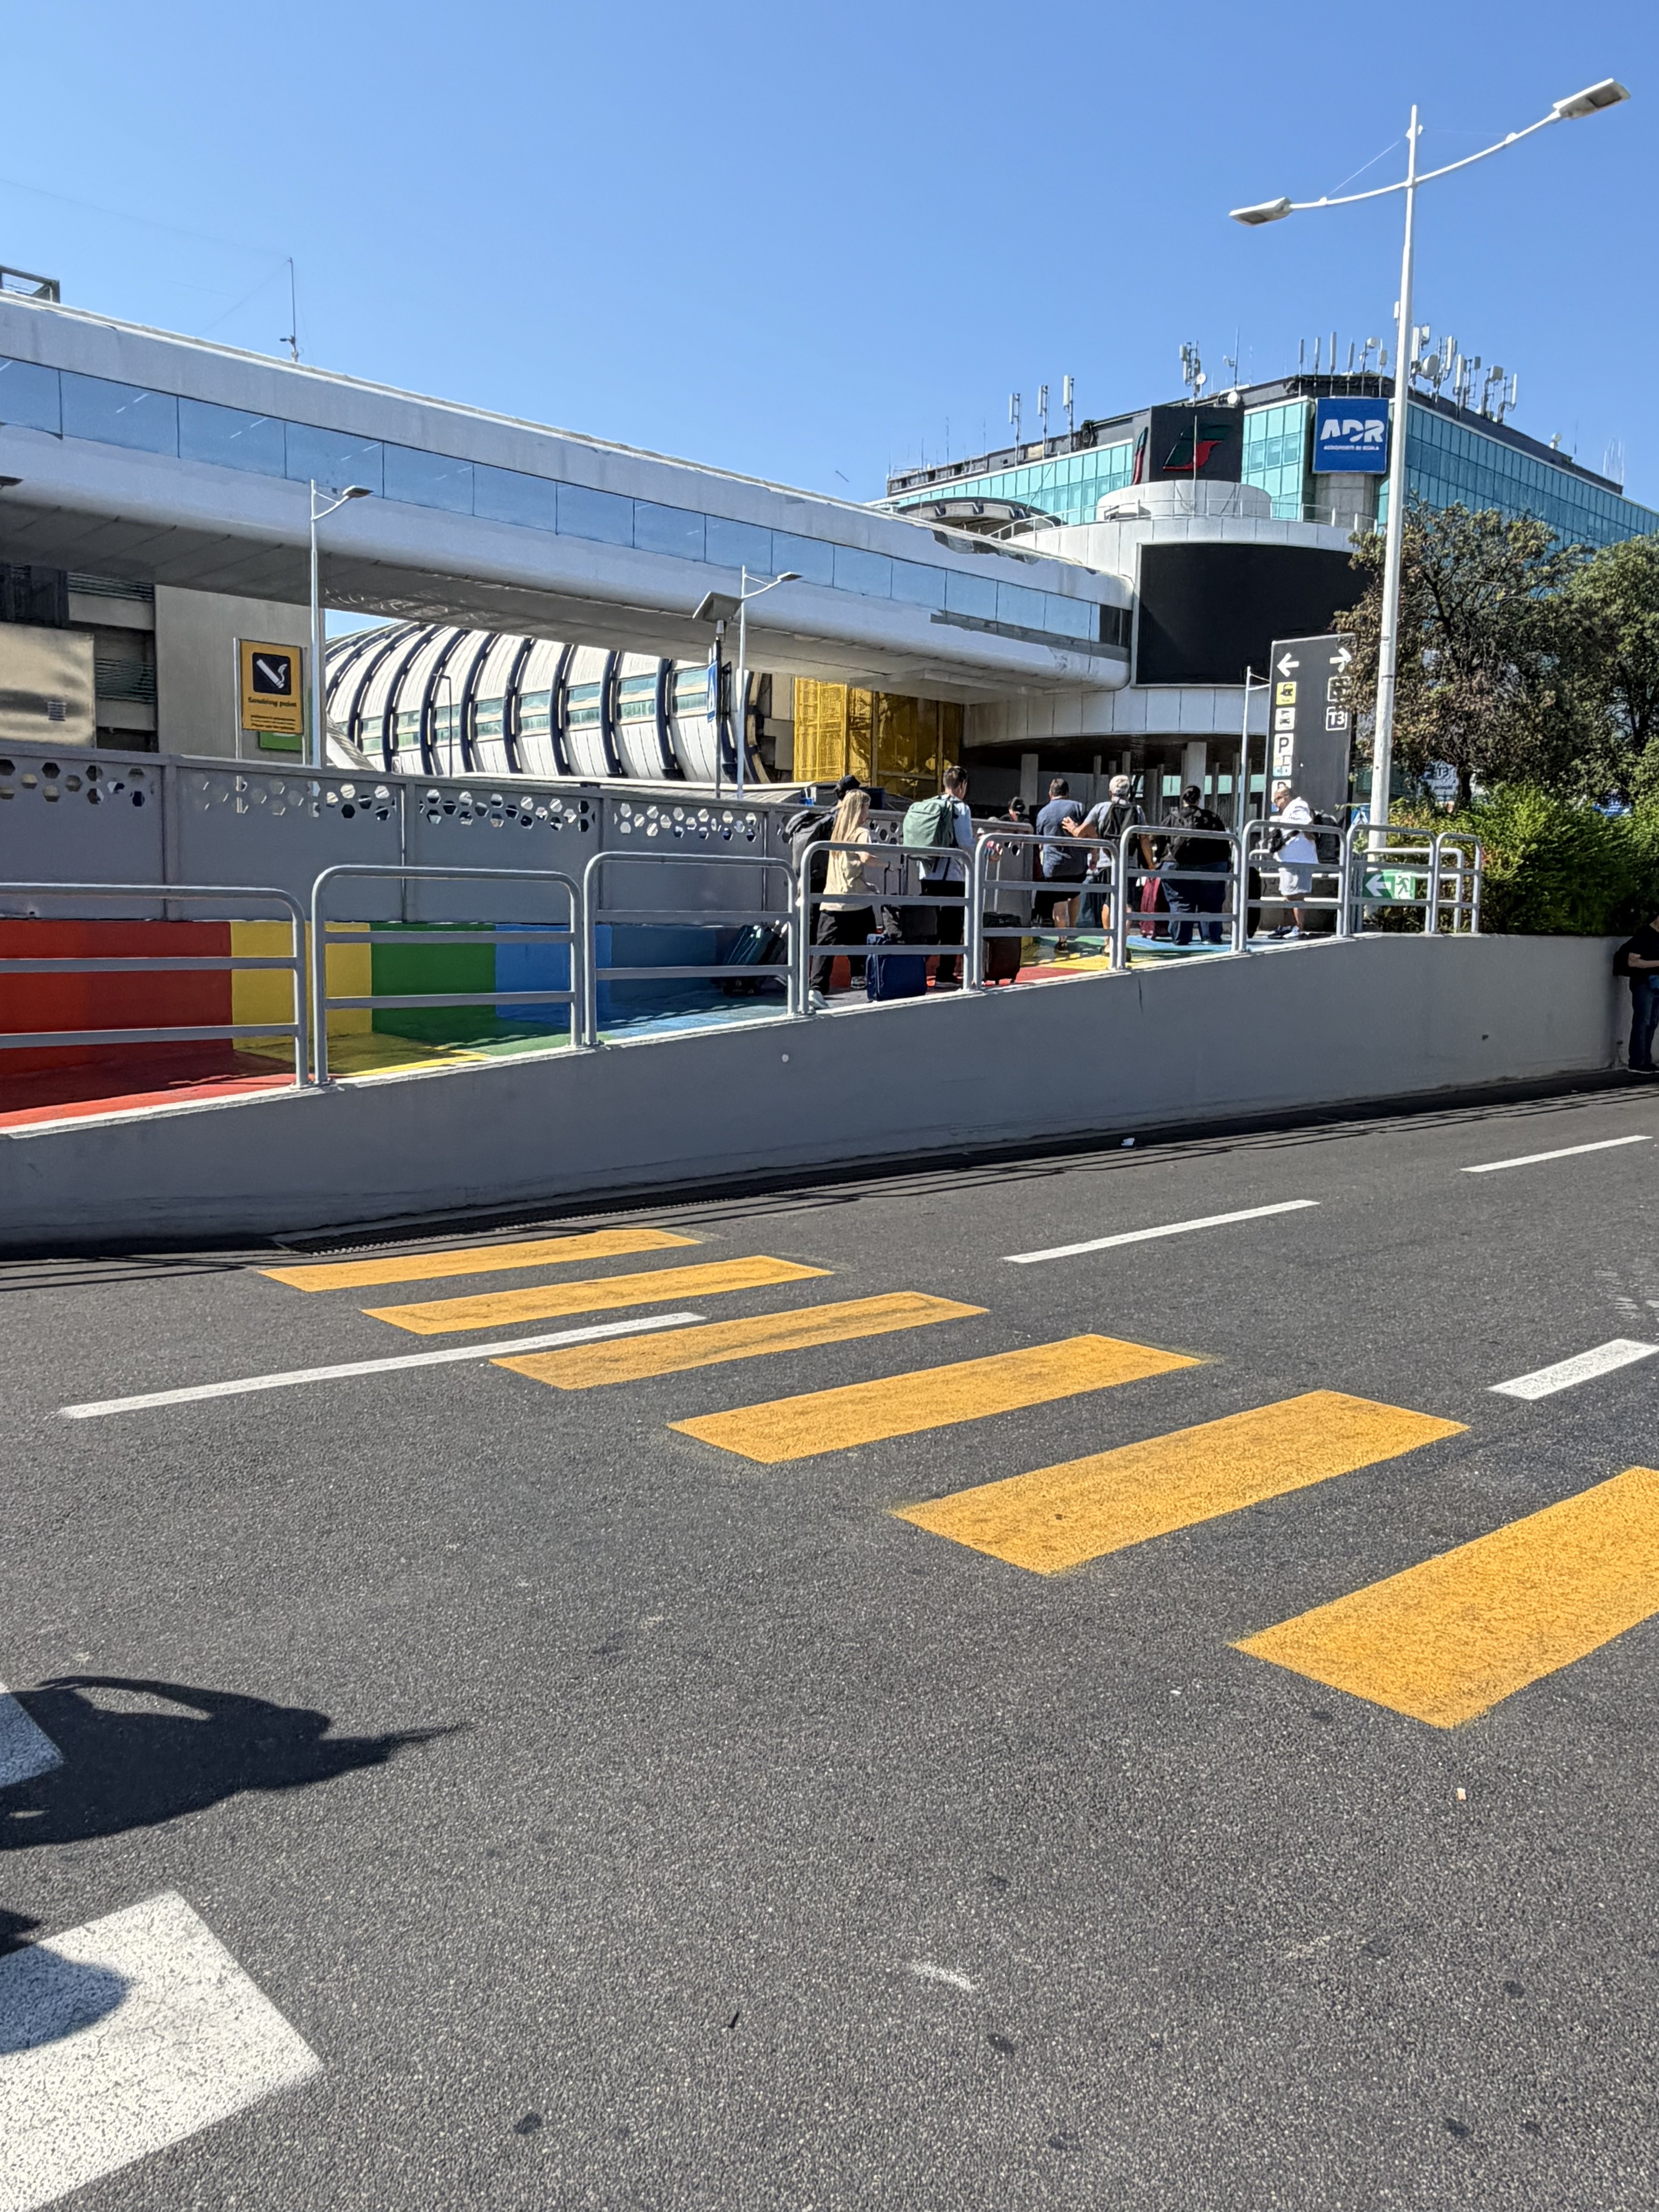
    Once you reach the station, take the elevator upstairs to the train platforms. Before entering the train area, you’ll have the option to either purchase a traditional train ticket or use the contactless payment gates.

    From Fiumicino Airport, you’ll generally see two main train options:

    • Leonardo Express – This is the fastest and easiest option for most visitors. It’s a nonstop train that runs directly to Roma Termini Station in about 32 minutes, making it ideal if you’re heading into the city center for sightseeing.
    • FL1 Regional Train – This commuter train makes several stops before reaching Rome and does not go to Roma Termini.

    One of the trains had green regional branding, while the other was the Leonardo Express. If you’re heading into Rome for sightseeing, make sure you look specifically for the Leonardo Express, which takes you directly to Roma Termini Station without additional stops. 

    Since my first stop was the Colosseum, the Leonardo Express to Roma Termini would have been the simplest option. From Roma Termini, you can take Metro Line B just two stops to Colosseo Station, where you’ll step out right in front of one of Rome’s most iconic landmarks.
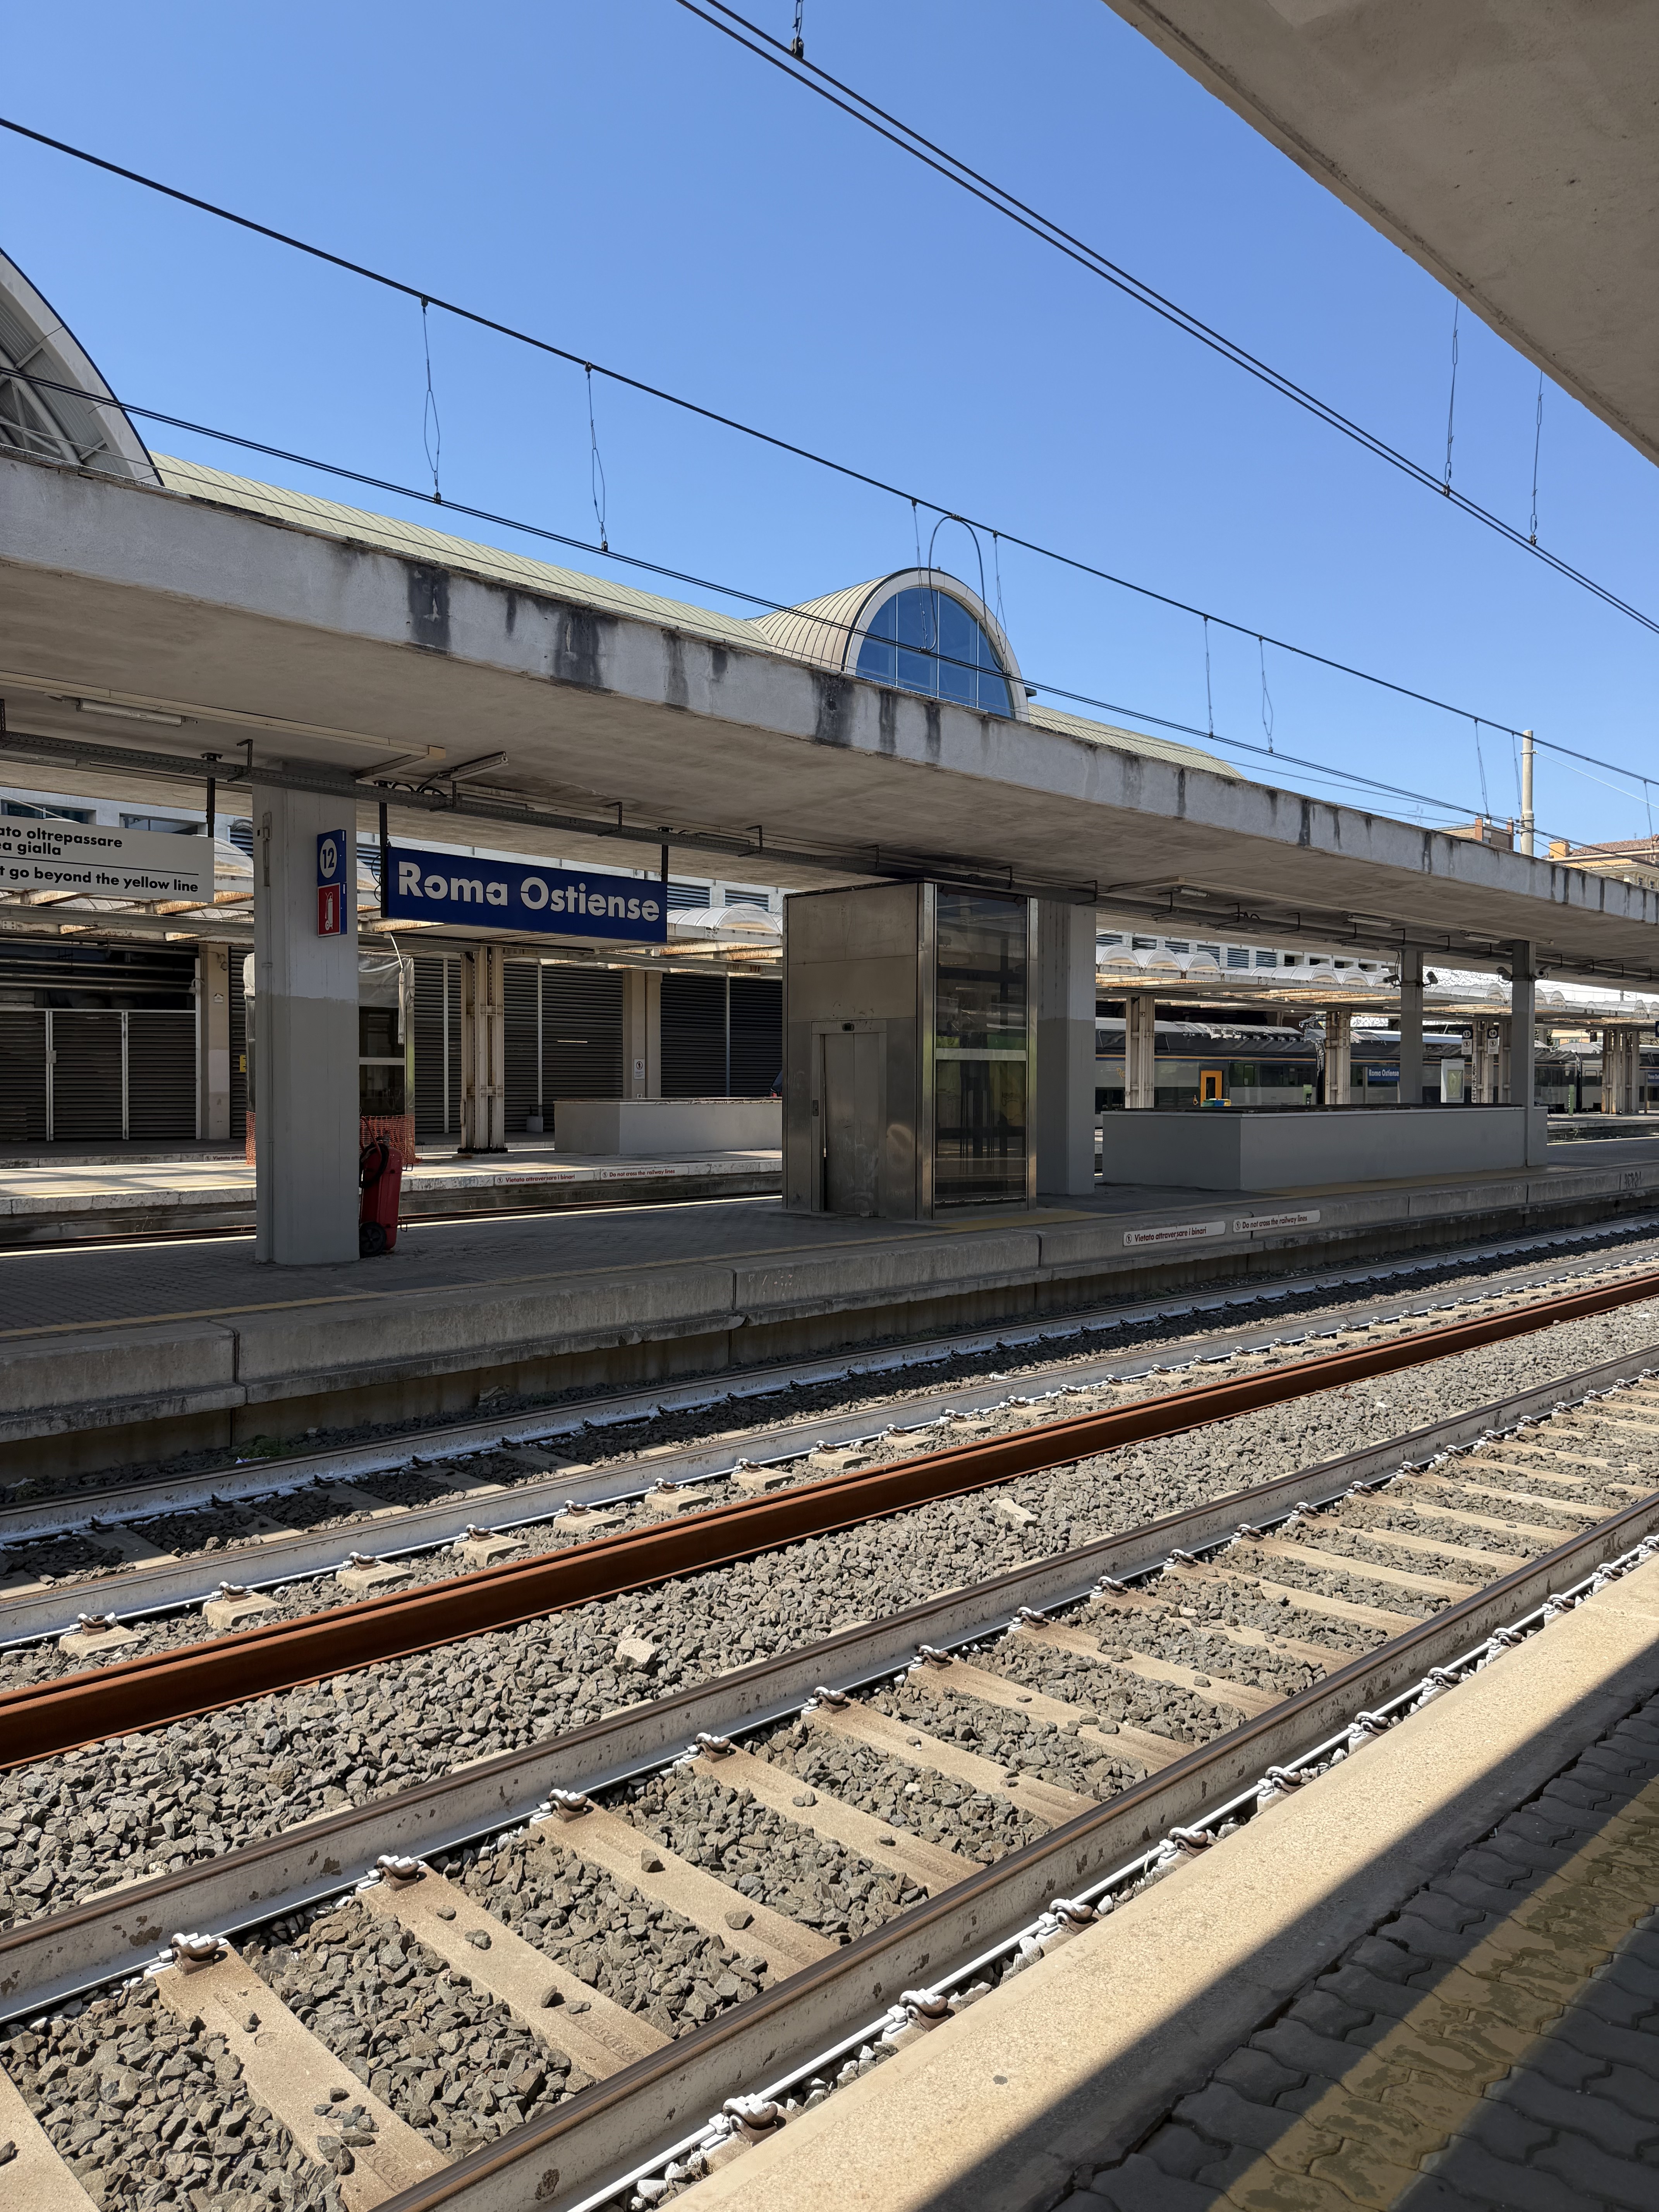
    Don’t get turned around like I did lol

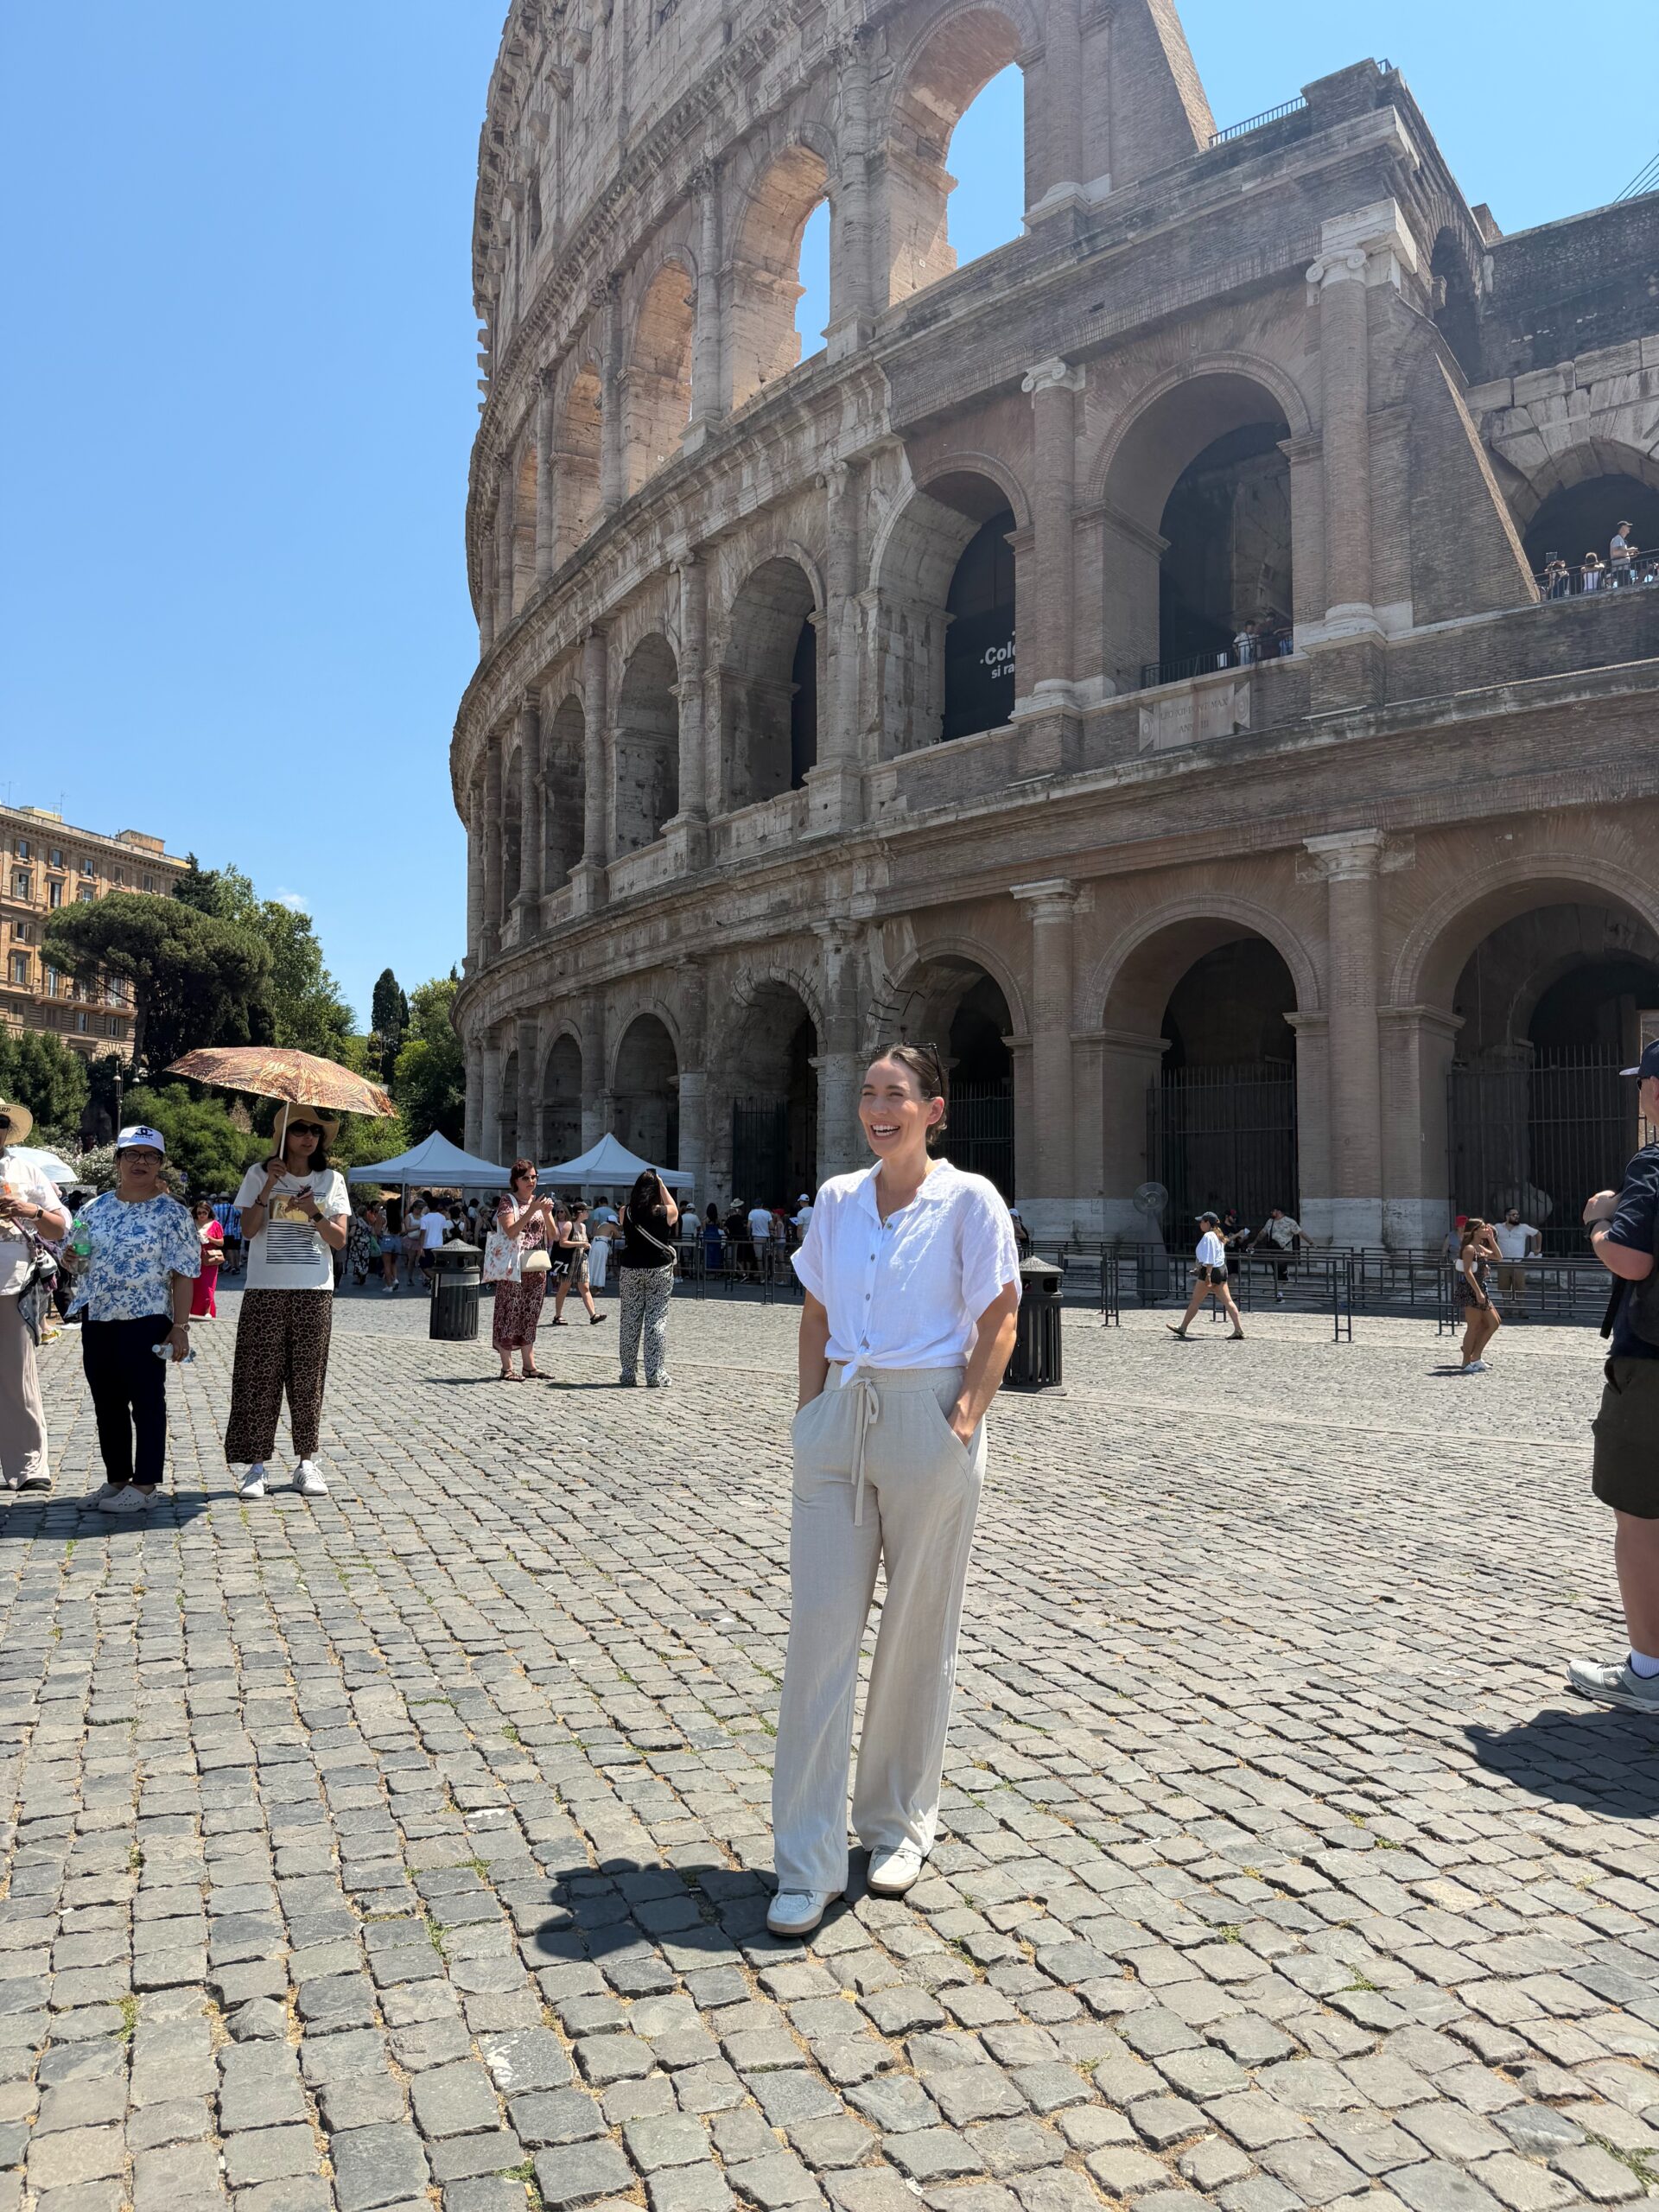
    Visit the Colosseum—Rome’s Most Iconic Landmark

    Even if you don’t have time for a full guided tour, seeing the Colosseum in person is worth the trip. Want to learn more about its fascinating past? Read my post on the history of three of Rome’s most iconic landmarks.

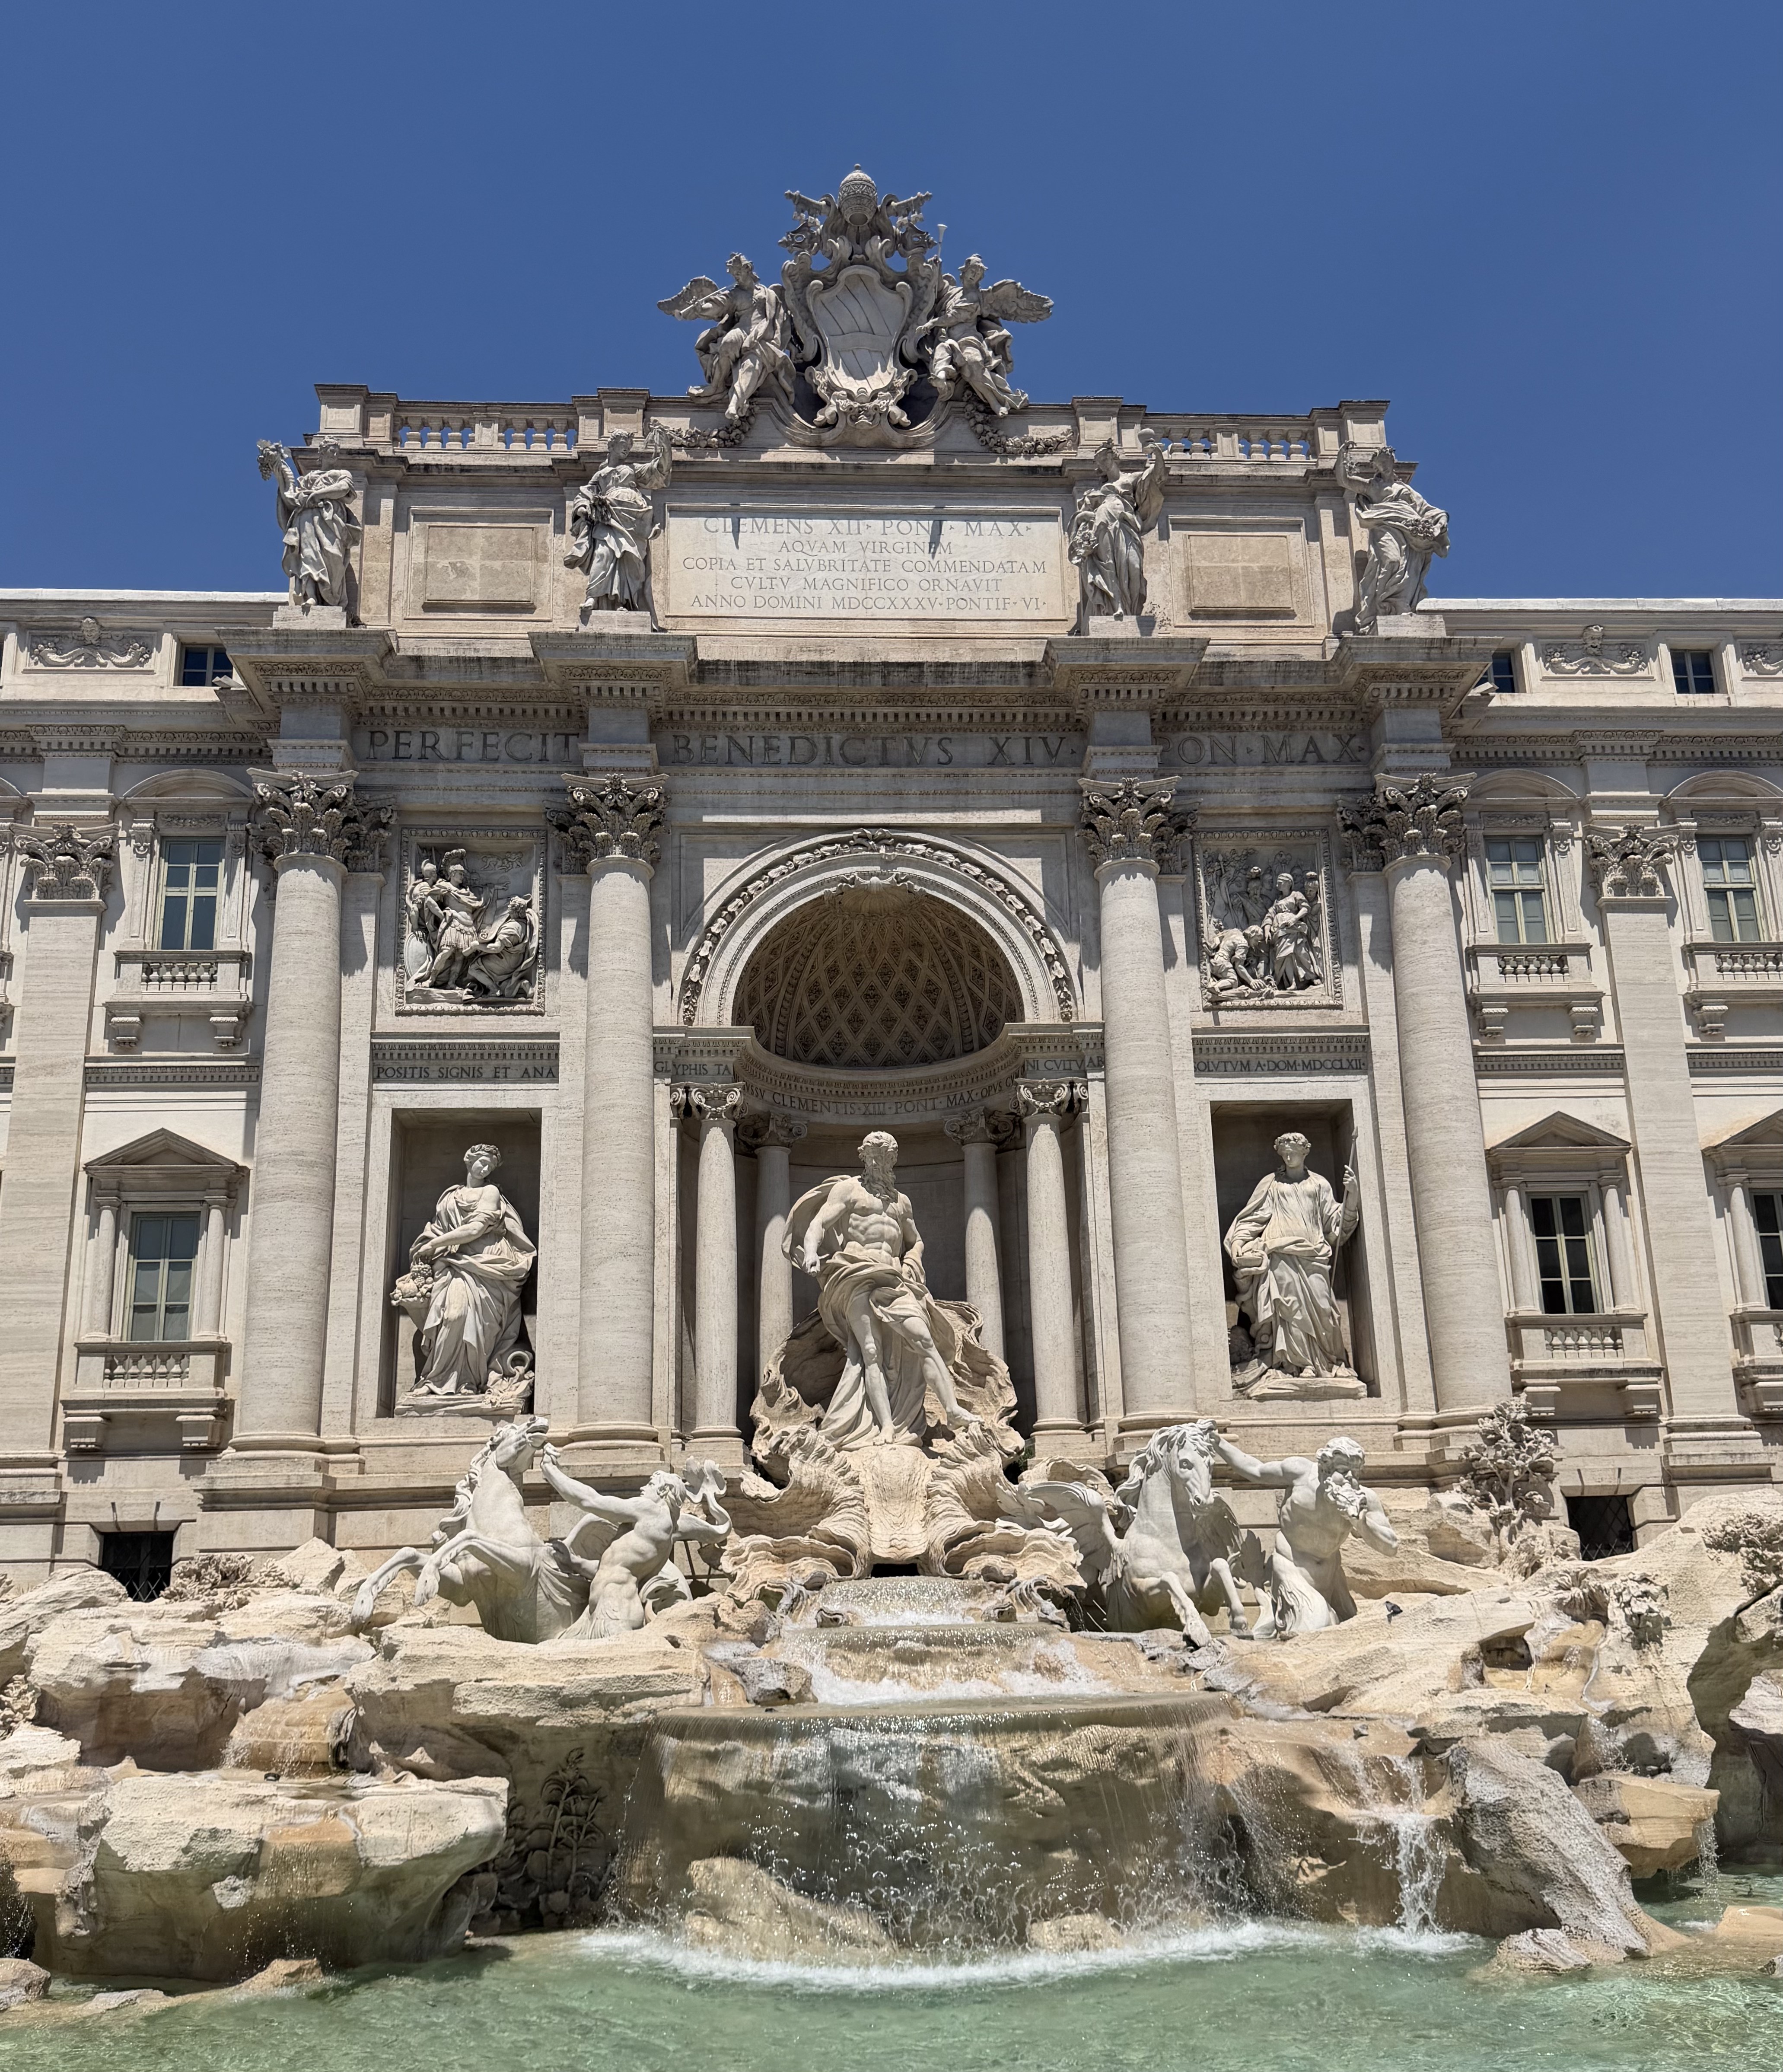
    Walk Through Rome to the Trevi Fountain

    One of my favorite parts of the afternoon wasn’t just the destination—it was the walk between landmarks.

    The stroll from the Colosseum to the Trevi Fountain takes you through charming streets, lively piazzas, cafés, and some of Rome’s most beautiful architecture.
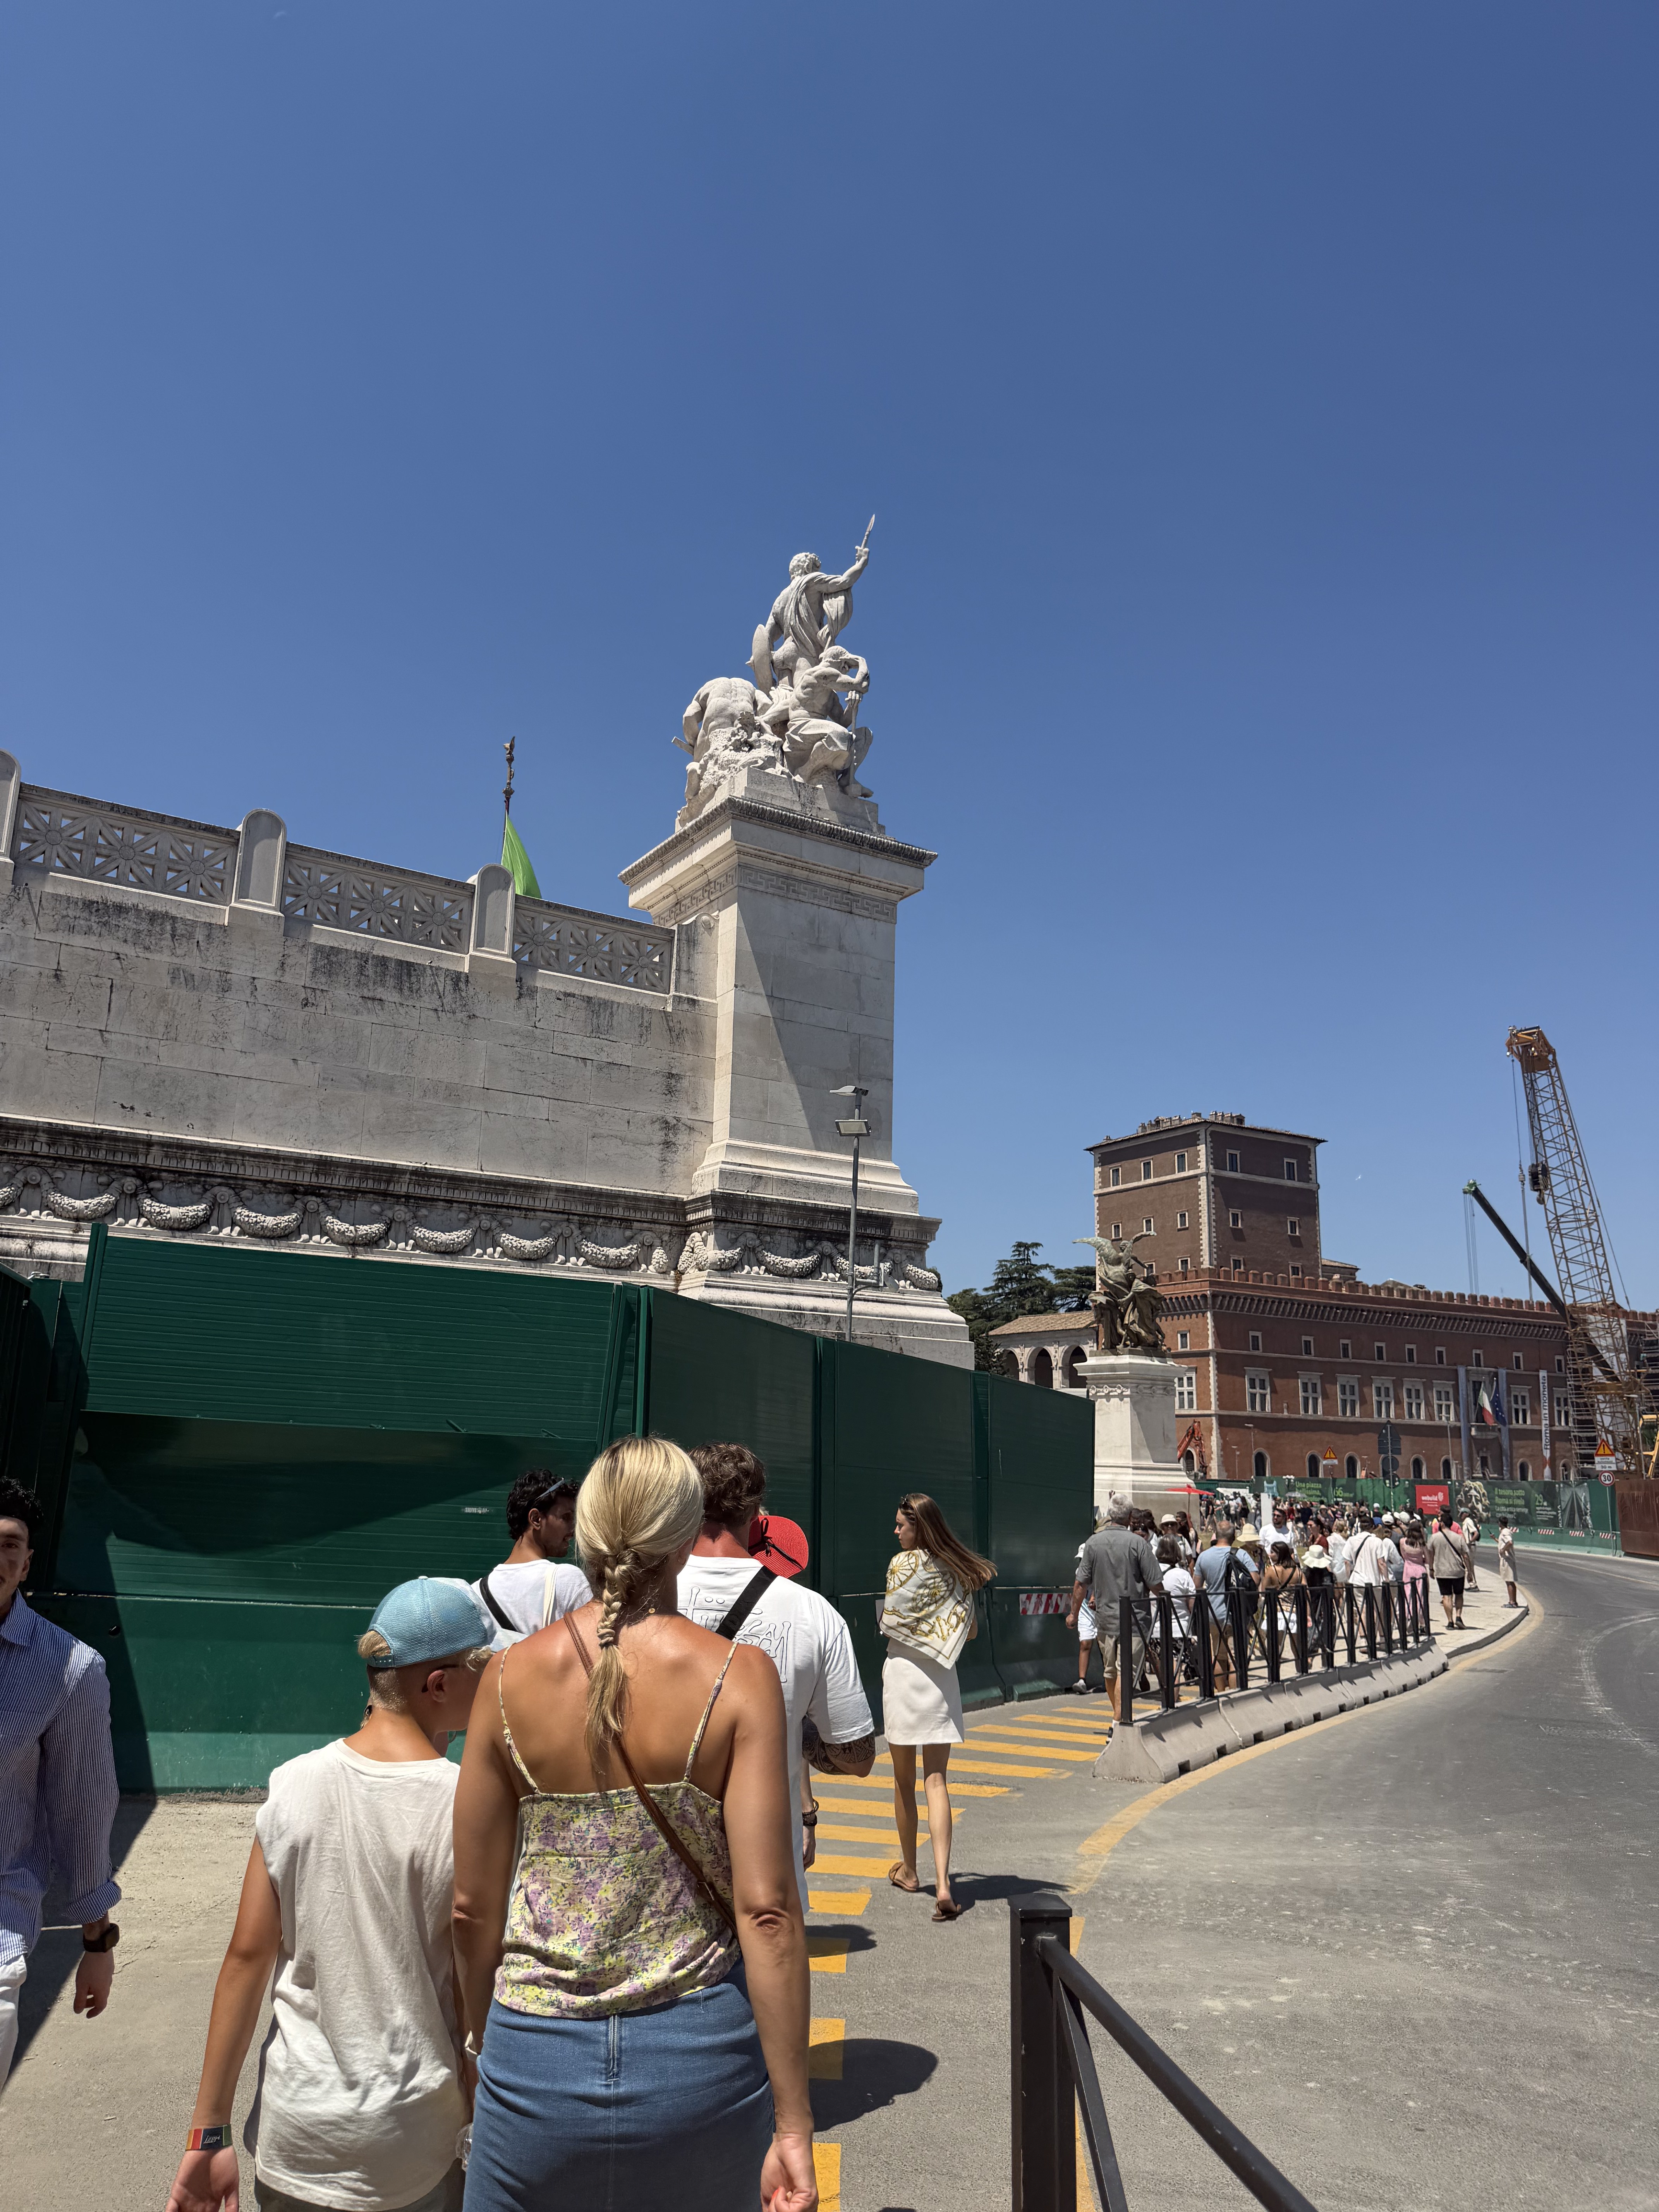

    The walk was approximately 20 minutes. I used Google Maps to guide me, but honestly you could get there by following the crowd.

    Take a Taxi to the Vatican Museums

    If your schedule is tight, taking a taxi is the quickest way to maximize your afternoon.

    Plus taking a break from the heat in an air conditioned car is worth every cent if you’re traveling in the summer.

    The taxi ride from the Trevi Fountain to the Vatican Museums cost €12.40.

    Tip: Be aware of unofficial Vatican Museum Ticket Sellers
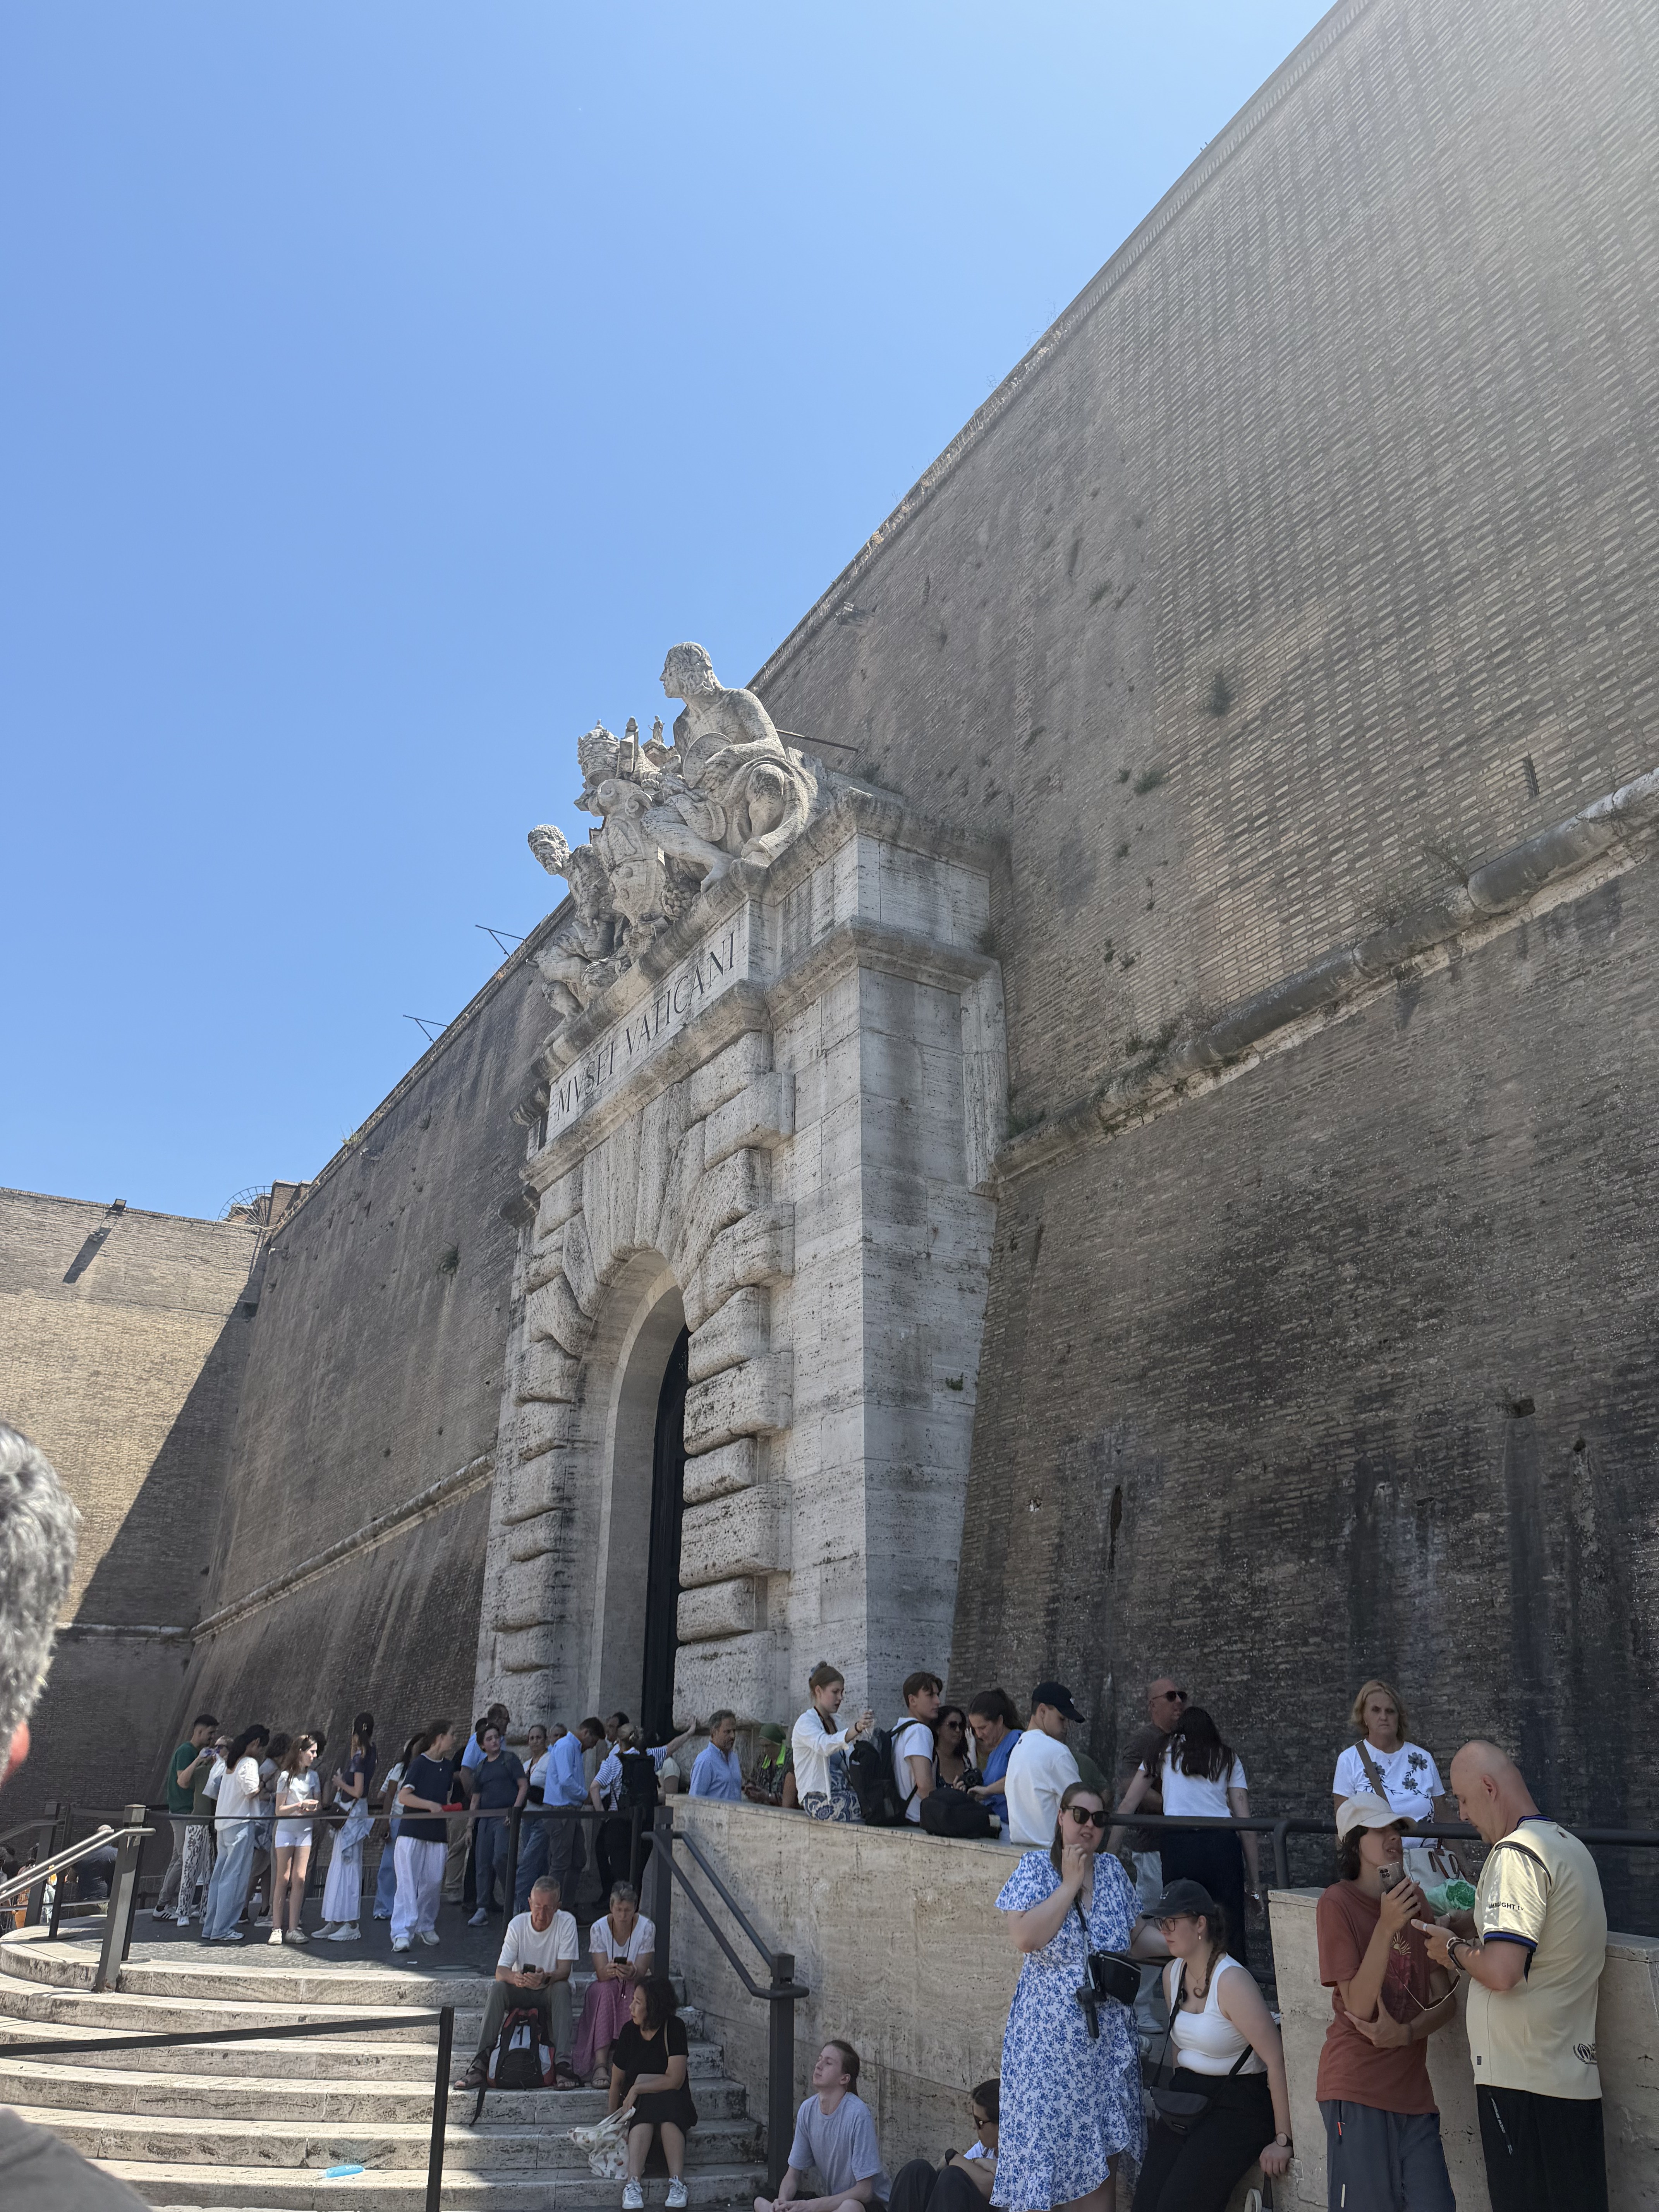
    How to Find a Taxi in Rome

    Finding a taxi in Rome is usually easier than trying to wave one down on the street. In many of the larger piazzas and popular tourist areas, you’ll find official taxi stands marked with a sign that says “Taxi” with a line of licensed taxis waiting nearby.

    Instead of searching for a taxi on your own, you can also use a taxi app called IT Taxi to request a ride directly from your phone. This can be especially helpful if you’re leaving a busy area, traveling with luggage, or want the convenience of arranging transportation without having to find the nearest taxi stand.

    When using taxis in Rome, look for official white taxis with a “TAXI” sign on the roof and a license number displayed on the vehicle. Avoid accepting rides from anyone approaching you and offering a taxi outside of official taxi areas.

    Tip: If you’re unsure where to find a taxi stand, ask a nearby hotel, café, or shop where the closest taxi area is. Most major squares and tourist attractions will have one nearby.
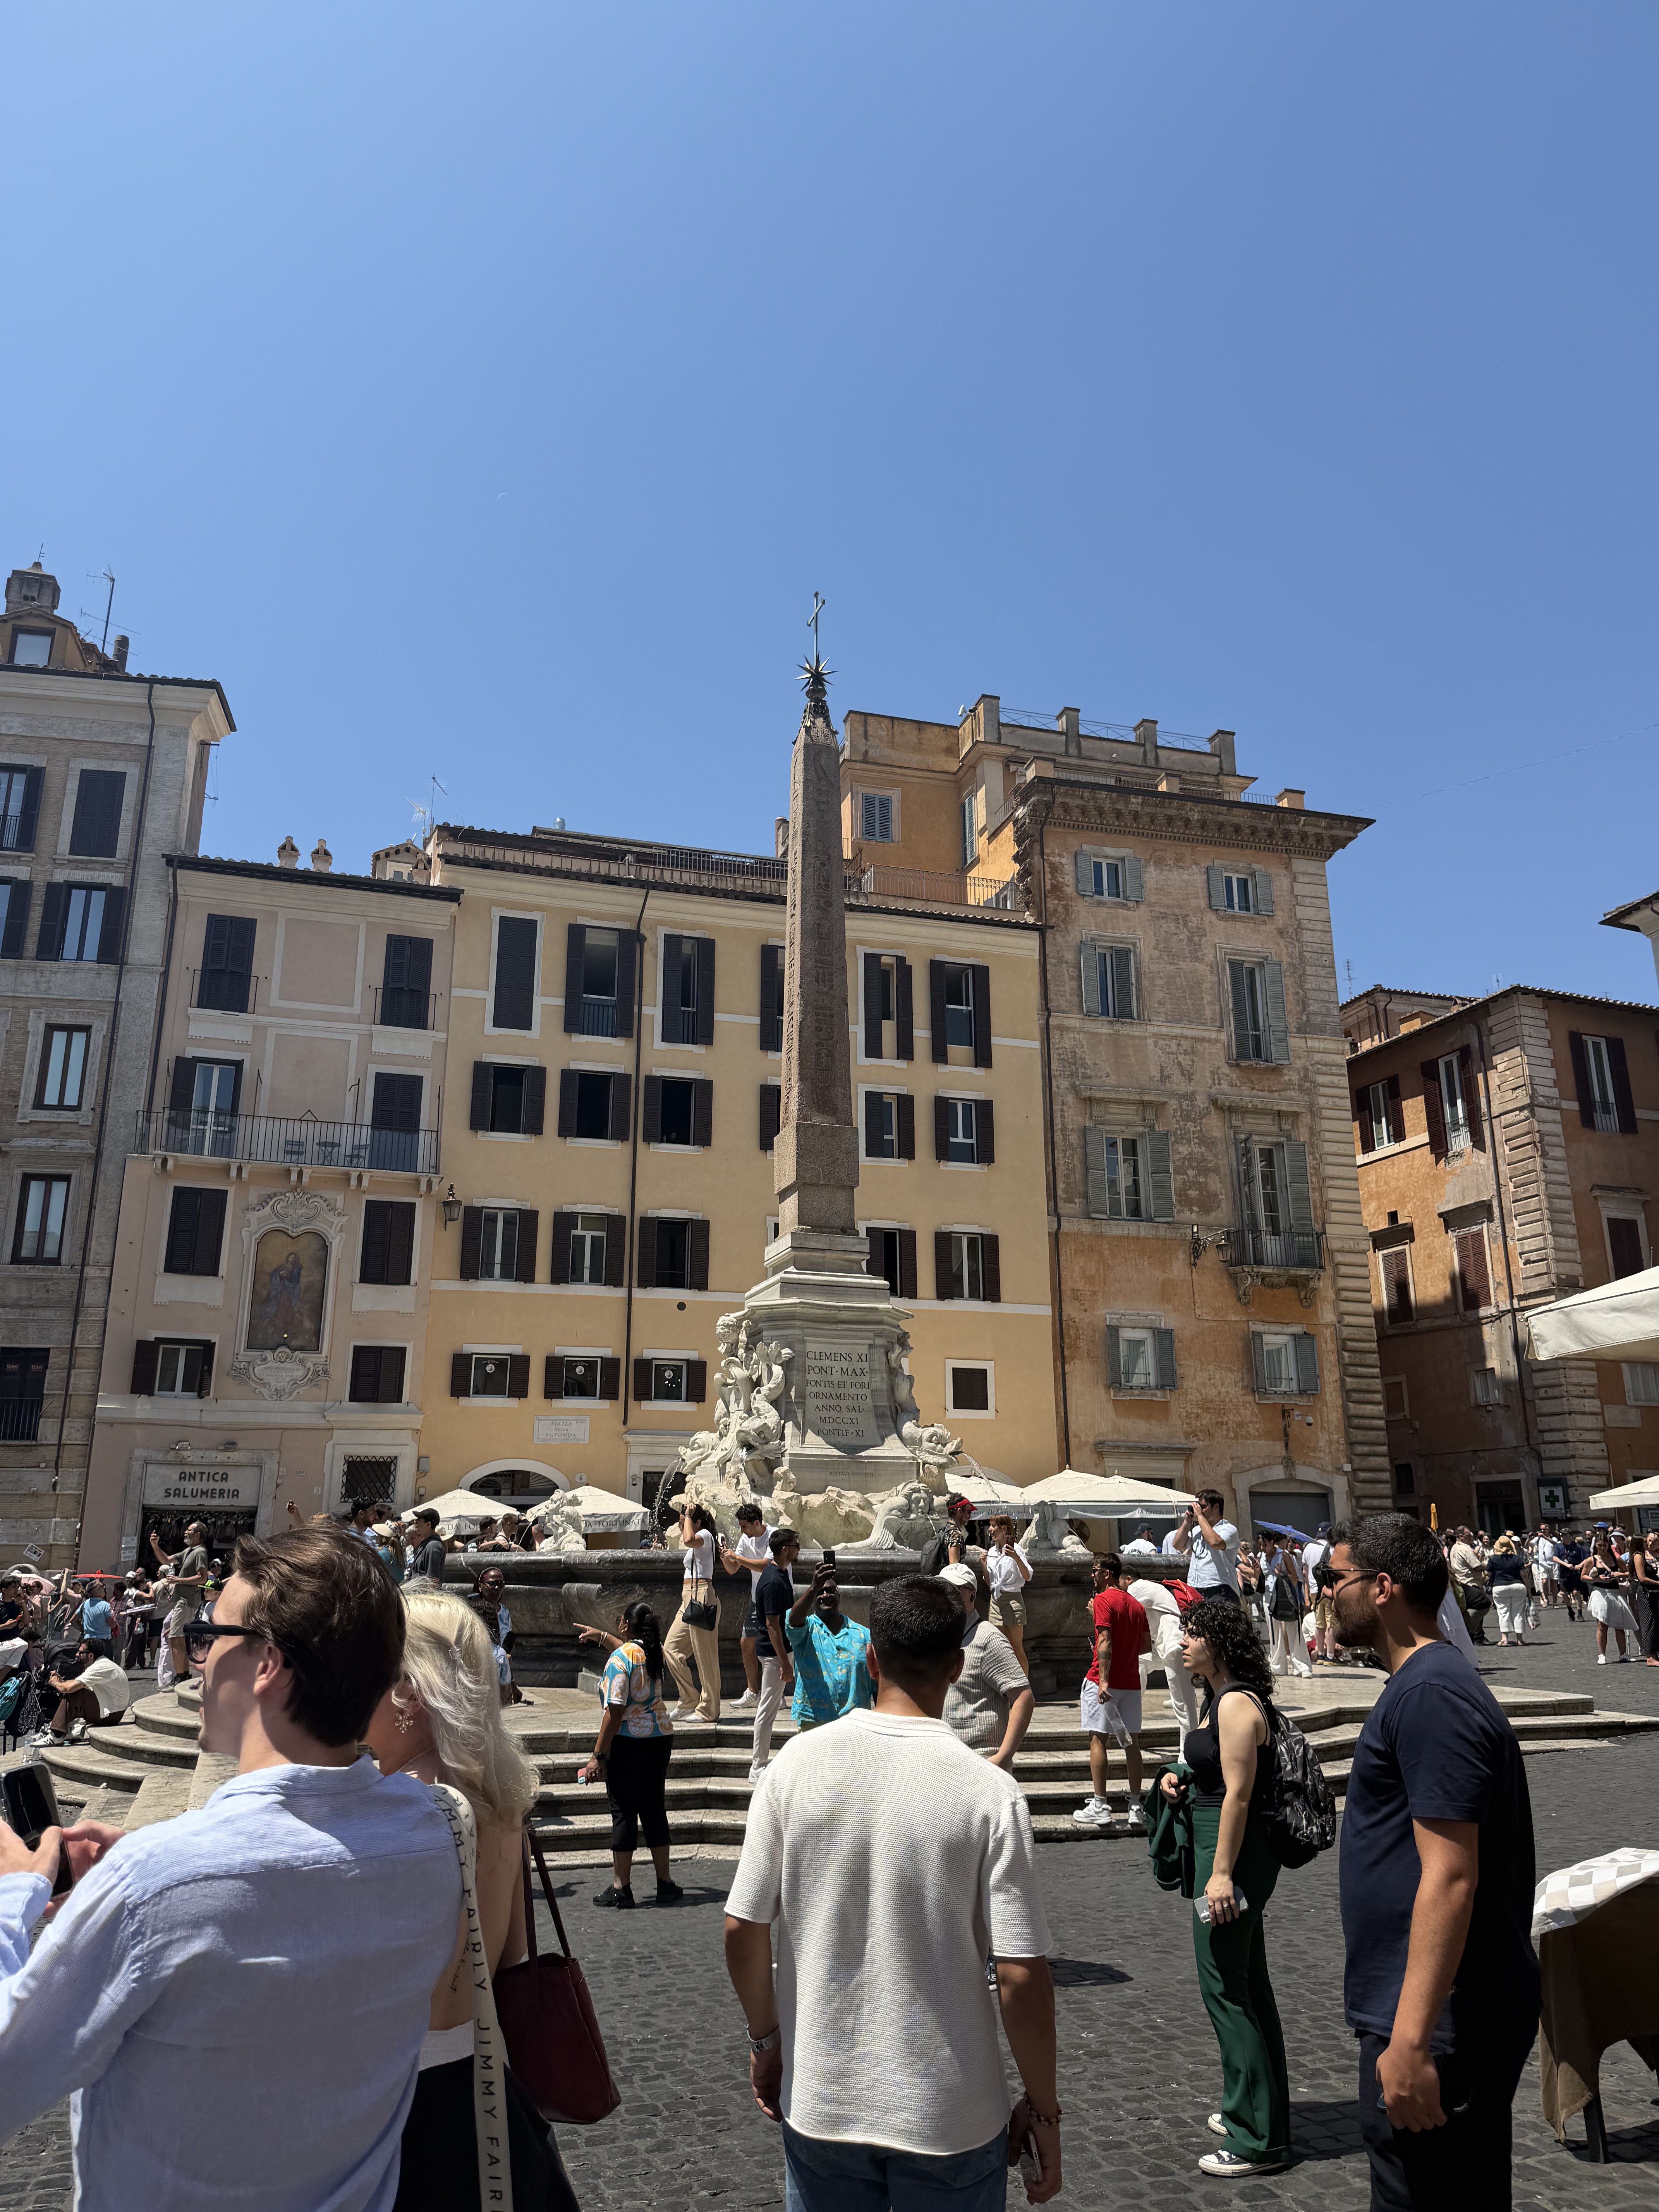
    Taking a Taxi Back to Rome Fiumicino Airport

    After visiting the Vatican Museums, I grabbed a taxi directly back to Fiumicino Airport.

    While trains are another great option, the taxi was the most convenient choice for my schedule.

    One thing I appreciated about taking a taxi back to FCO was the transparency of the pricing.

    Inside the taxi, the driver had a laminated sign displaying the flat rate fare to Rome Fiumicino Airport (FCO), which was €55.

    This made it easy to budget for the ride and avoid worrying about the meter changing with traffic.

    Planning Your Own Afternoon In Rome?

    I know how helpful it can be to have the details saved in one place when you’re navigating a new city, especially when you only have a few hours to explore. 

    I put together a free Rome Afternoon Itinerary Guide with the key details from this trip, including transportation options, estimated travel times, costs, and helpful tips for making the most of your time in the city.

    You can save it to reference while planning your own visit to Rome or keep it handy for the day you arrive.

    Is an Afternoon in Rome Worth It?

    Although you could spend weeks exploring Rome and still discover something new, even a single afternoon can give you a glimpse into what makes this city so special.

    From standing in the shadow of the Colosseum to wandering the streets between landmarks, every corner tells a story.

    My afternoon in Rome was a reminder that you don’t always need a lot of time to have a meaningful travel experience — sometimes a few hours are enough to leave a lasting memory.
  • 3 Iconic Rome Landmarks Explained: The Hidden History Behind the Trevi Fountain, Colosseum, and Vatican

    3 Iconic Rome Landmarks Explained: The Hidden History Behind the Trevi Fountain, Colosseum, and Vatican

    Rome has a way of revealing that history is not something locked away in books—it is something you can stand inside, walk through, and feel around you.

    Every corner seems to hold a reminder of the people who shaped this city: engineers who mastered water, architects who built for thousands, artists who transformed stone and paint into lasting stories.

    The Trevi Fountain, the Colosseum, and the Vatican each reveal a different part of Rome’s identity, showing a civilization that was brilliant, complex, and profoundly influential.

    Trevi Fountain History: Ancient Roman Engineering Behind Rome’s Most Famous Fountain

    One of the most fascinating things about the Trevi Fountain is that it marks the endpoint (or terminus) of the ancient Aqua Virgo aqueduct, which has carried fresh spring water into Rome since 19 BCE.

    Rather than relying on pumps, the Romans designed aqueducts with an incredibly gentle, carefully calculated slope so gravity alone kept the water flowing over many kilometres.

    The water came from naturally clean springs, with settling tanks allowing sand and sediment to sink before it reached the city.

    Contrary to what you might expect, the water wasn’t under enormous pressure—it flowed steadily because of the gradual downhill gradient. At the end of the aqueduct, instead of simply emerging from a pipe, the Romans created magnificent fountains like the Trevi, transforming an essential piece of infrastructure into a work of art.

    It’s a remarkable example of how ancient engineering combined practical function with extraordinary beauty.

    Today, visitors continue the centuries-old tradition of tossing a coin over their shoulder into the fountain, with one coin said to ensure a return to Rome.

    The millions of coins collected each year are donated to charity, making the Trevi Fountain not only a masterpiece of engineering and art but also a place that continues to make a positive impact today.

    Colosseum History: The Engineering and Stories Behind Ancient Rome’s Iconic Arena

    The Colosseum was far more than a giant arena—it was a carefully engineered symbol of Roman power, entertainment, and innovation.

    Built between 70 and 80 CE under the emperors of the Flavian dynasty, it could hold tens of thousands of spectators and was designed with a complex system of entrances, stairways, and corridors that allowed crowds to enter and leave efficiently.

    Beneath the arena floor was the hypogeum (a network of underground chambers and passageways) where gladiators, animals, and equipment were kept before being brought into view of the audience through a series of lifts and trapdoors.

    The Romans even designed a massive retractable canopy called the velarium to protect spectators from the sun.

    While the Colosseum is often remembered for the brutal contests that took place there, it also represents the remarkable engineering skills of ancient Rome and remains a powerful reminder of how architecture can reflect the values, ambitions, and contradictions of a civilization.

    Vatican City History: Art, Religion, and the Legacy of the World’s Smallest Country

    Despite being the smallest country in the world, the Vatican holds an extraordinary amount of history, art, and influence.

    Within its walls are the Vatican Museums, a vast collection built up over centuries by generations of popes who preserved and collected some of the world’s greatest works of art.

    Walking through the museums is like moving through a timeline of human creativity, from ancient Roman sculptures and Egyptian treasures to Renaissance masterpieces. Hidden within this collection is the Sistine Chapel, where Michelangelo transformed a simple ceiling into one of the most celebrated works of art in history.

    Nearby stands St. Peter’s Basilica, built over what is believed to be the tomb of Saint Peter, making it one of the most important sites in Christianity.

    The Vatican is not just a place of religion—it is a living archive of art, history, architecture, and human achievement, where centuries of stories are preserved within a few city blocks.

    Why Rome’s Landmarks Still Matter Today

    Perhaps that is the true magic of Rome: every stone carries a story.

    Beneath the fountains, within the walls of its arenas, and throughout its sacred spaces are the ideas, dreams, triumphs, and struggles of the people who came before us.

    Rome reminds us that civilizations may rise and fall, but the things humans create, question, and leave behind can continue to speak across thousands of years.

  • Layover Diaries: 19 Hours in Chattanooga, Tennessee (Rock City & Lookout Mountain)

    Layover Diaries: 19 Hours in Chattanooga, Tennessee (Rock City & Lookout Mountain)


    Layover Diaries: 19 Hours in Chattanooga, Tennessee (Rock City & Lookout Mountain)

    A 19-hour layover turned into a morning inside a mountain of bridges, caves, fairy tales, and a view that claims seven states.

    When you only have 19 hours in a city, every decision feels important. Do you cram in as much as possible, or do you slow down and actually enjoy where you are? After factoring in sleep, transportation, and admission costs, I knew I had time for just one major attraction in Chattanooga. I considered both Ruby Falls and Point Park, but ultimately decided on Rock City—and it turned out to be the perfect way to spend my morning.

    There’s a Starbucks right next to the entrance, and they allow you to bring your coffee inside the park. I can’t think of a better place to drink your morning coffee than on top of a mountain. Not only can you bring coffee inside the park, but you can also bring your dog! Rock City is winning points from me all around. I’d love to bring Teddy here someday. Everyone was so friendly, and the whole place had a relaxed, almost magical feel to it—one that made it easy to slow down and simply enjoy being there.

    Welcome to Rock City

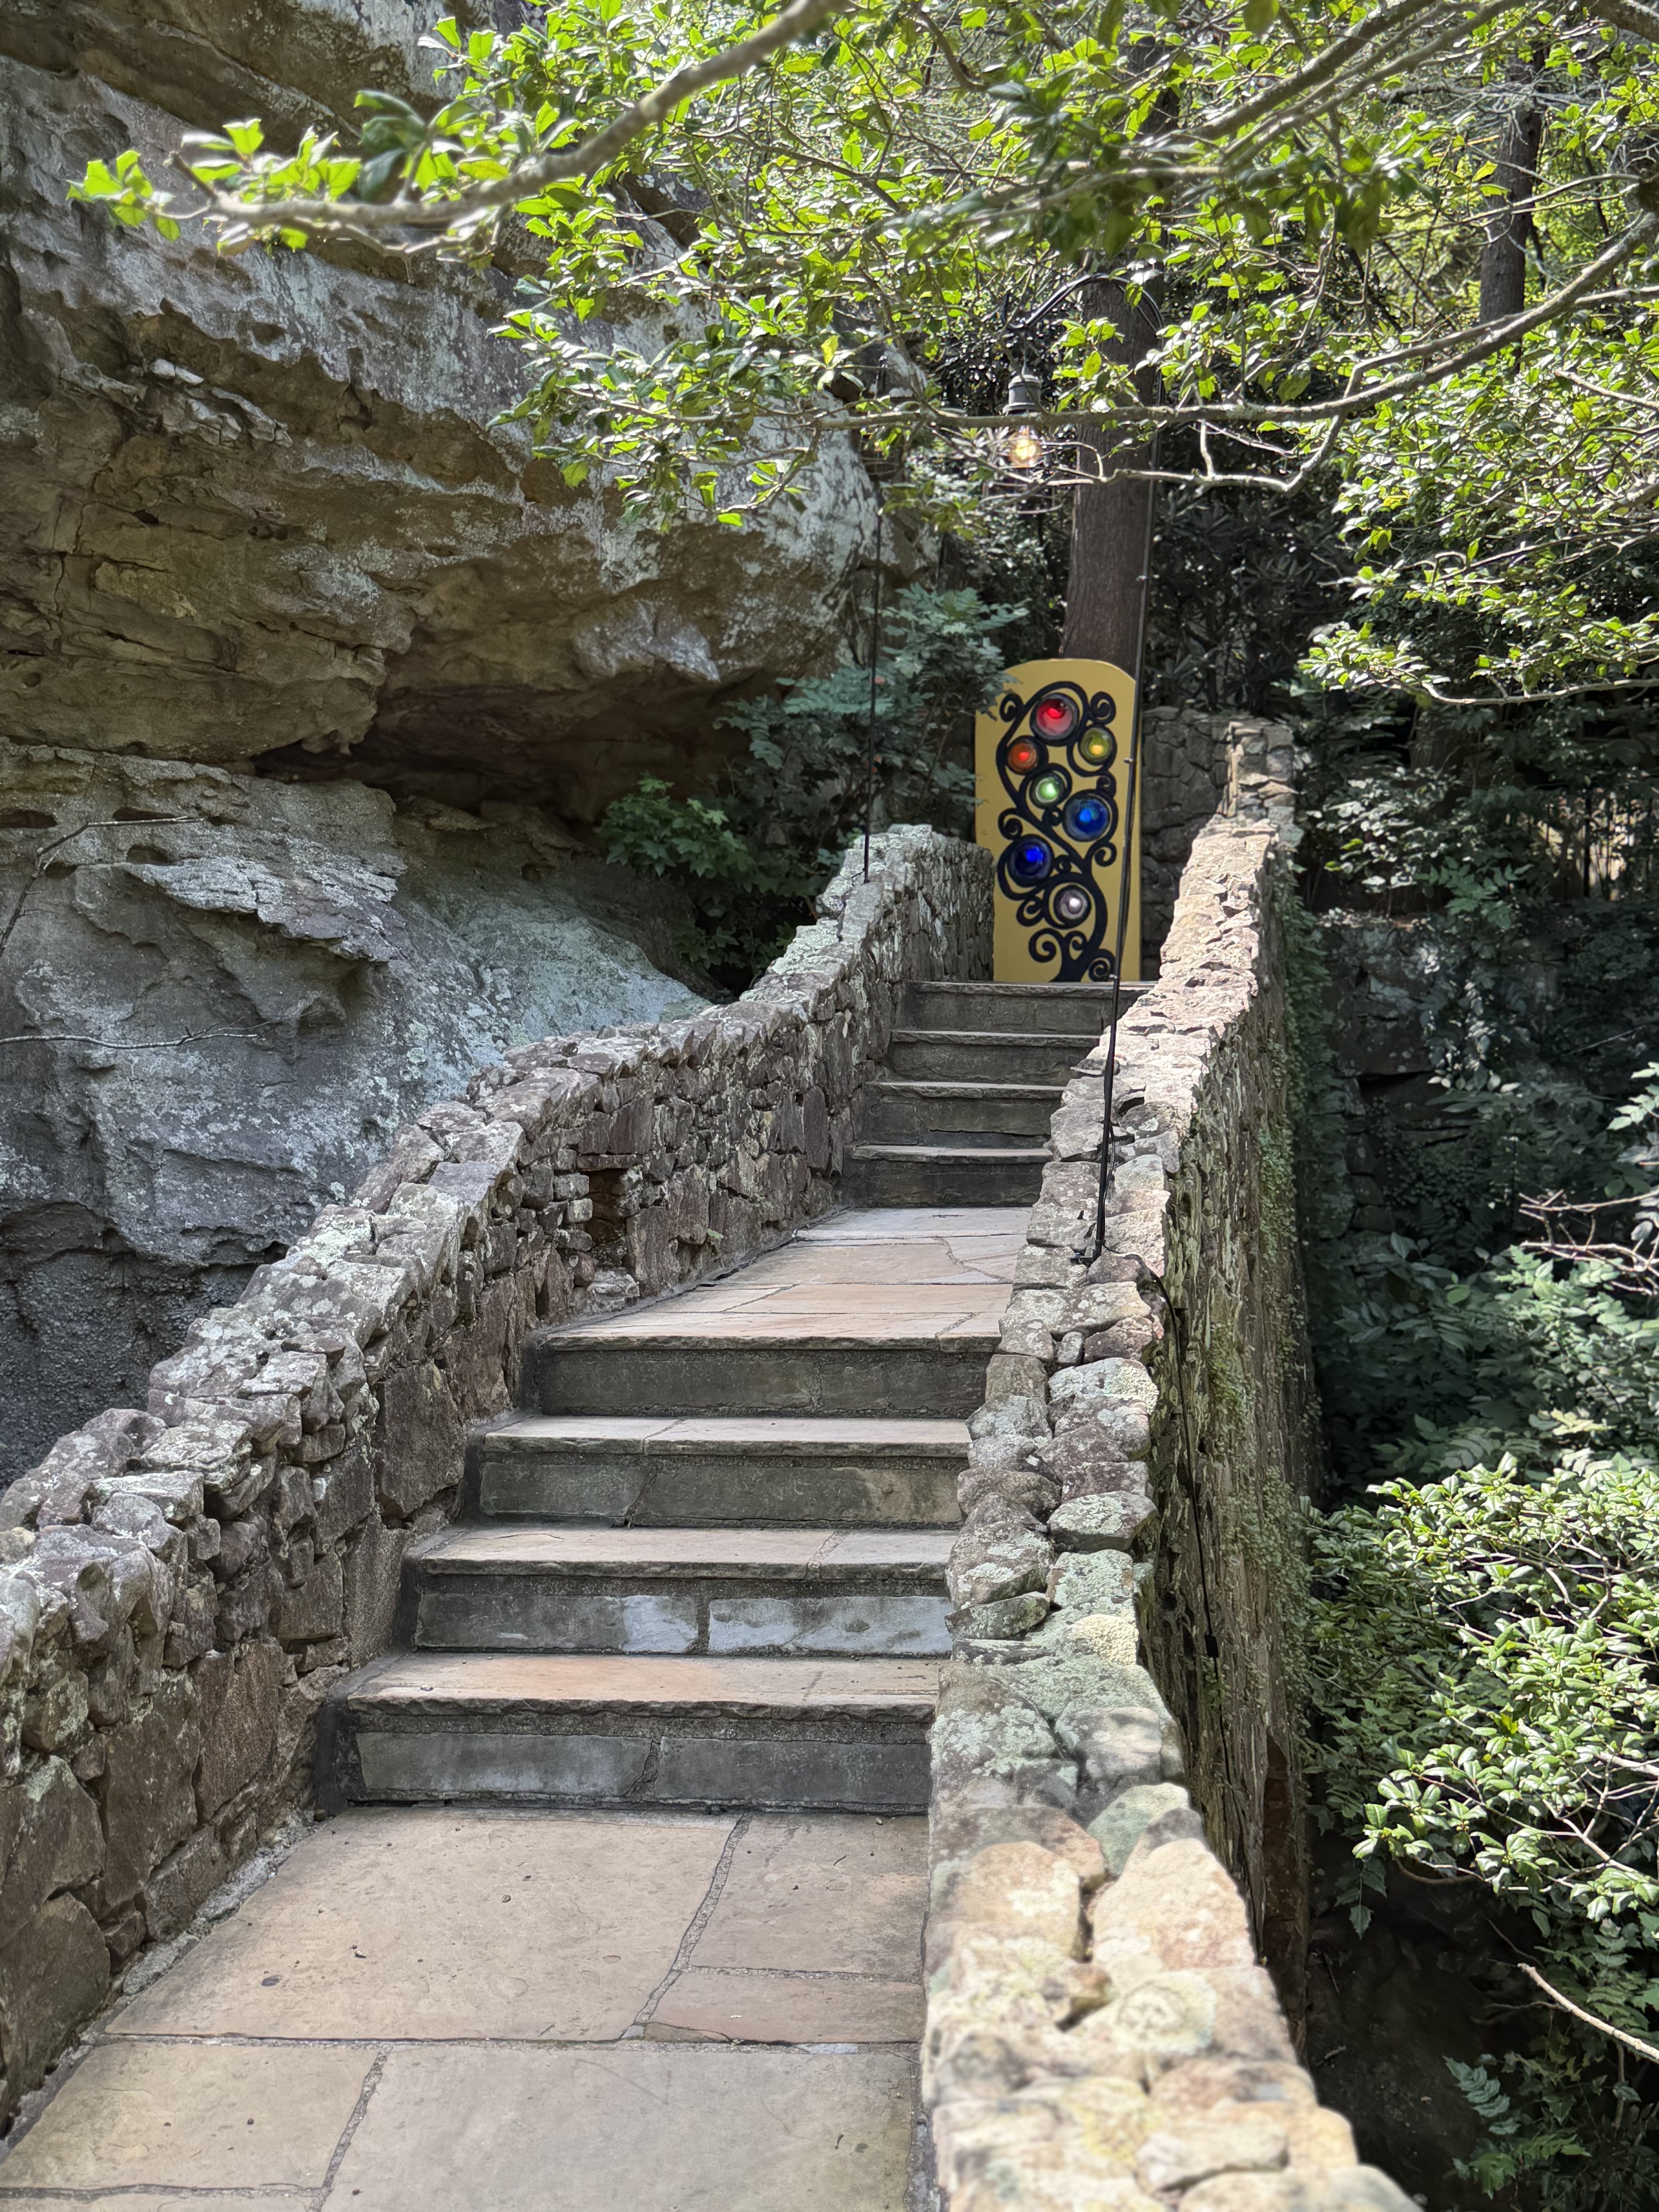
    Once you walk into the park, you have two options: go through the green doors to experience all the trails in order that eventually lead to the top at Lover’s Leap, or go left up the stairs and go directly to the top. 

    You can always backtrack—the place is a bit of a maze, so if you wander around long enough, you’ll figure it out. 

    I think for your first time there it makes the most sense to go through the green doors and see everything in order. Naturally, I did not do that and went straight for the top lol.

    But I’ll list the trails and gathering spots in order so you can make your own decision on which path you wish to take.

    The main walkway is called Legacy Lane, and branching off of it are each of the trails.

    🌿 Grand Corridor Trail

    Through the green doors you’ll go through the Grand Corridor Trail where you’ll see:

    • Needle’s Eye – a narrow rock opening you can squeeze through, one of Rock City’s most iconic passageways
    • Mushroom Rock – natural stone formations shaped like giant mushrooms
    • Goblin’s Underpass – a shaded, cave-like stone tunnel that feels hidden within the mountain
    • Villa Aviana – a peaceful architectural overlook tucked into the rock with a quieter, scenic feel

    And you’ll end back on the main walkway, Legacy Lane.

    🌉 Bridges Trail

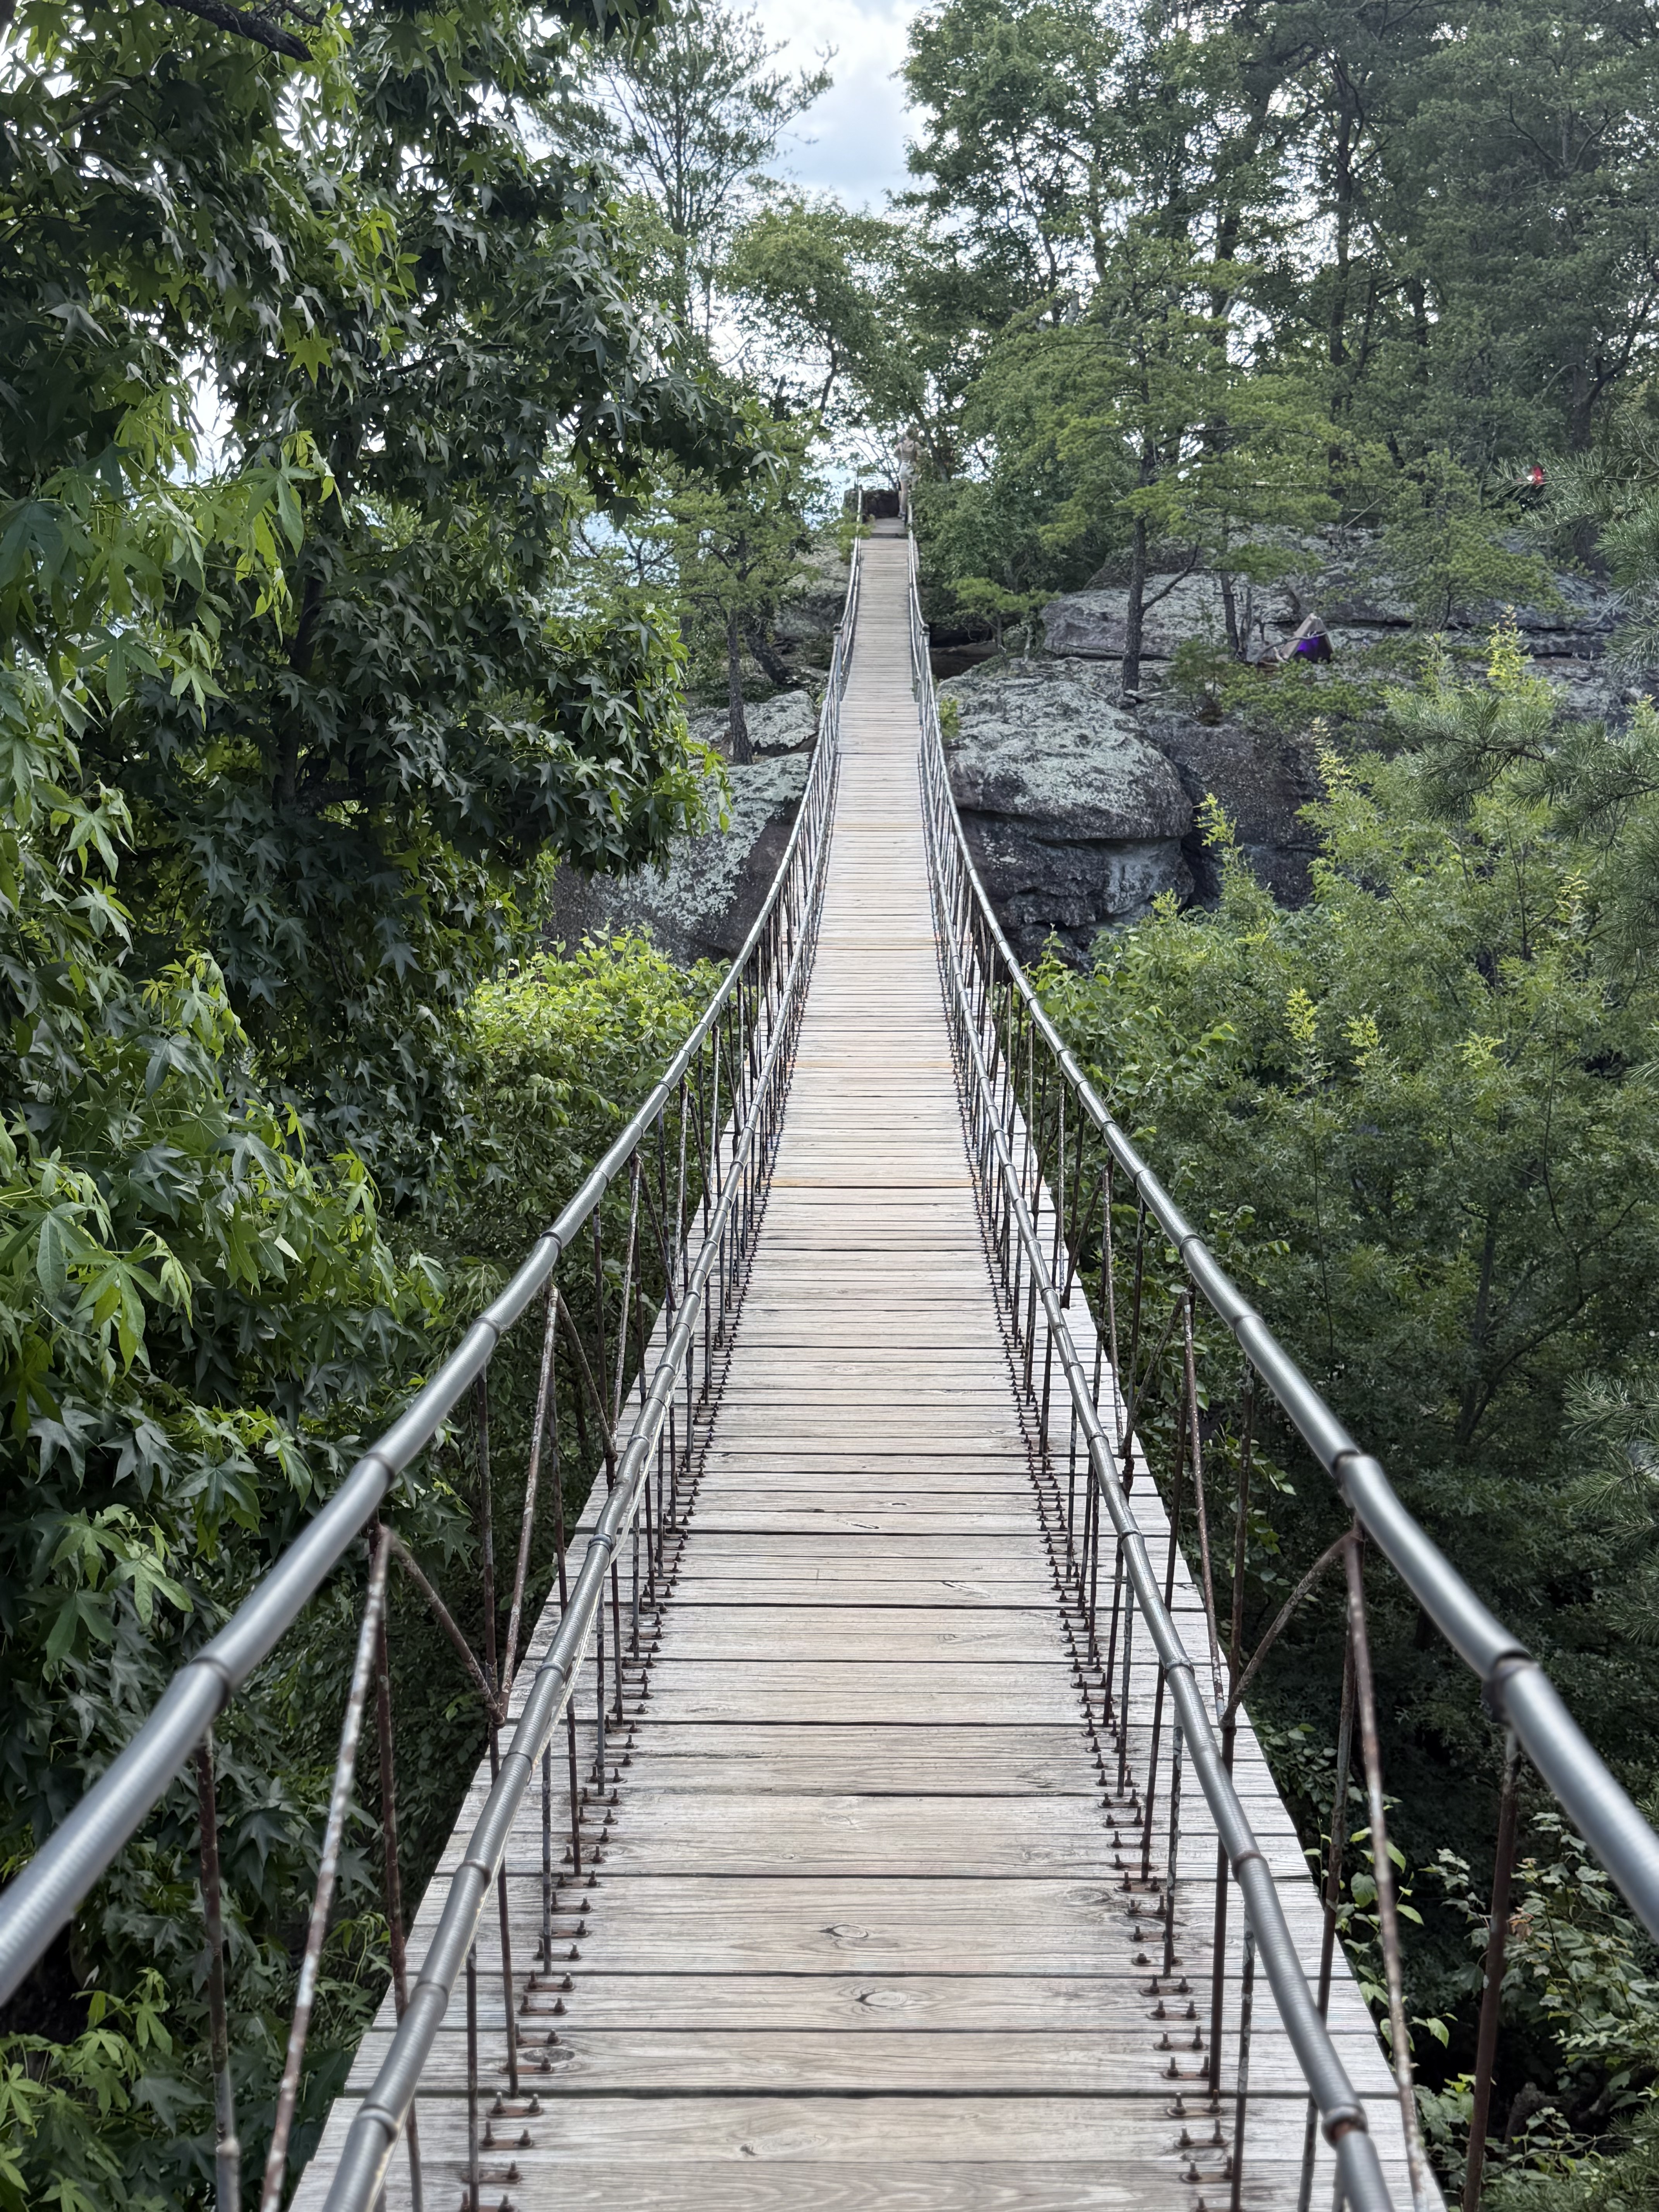
    Next is the Bridges Trail, where you can choose to do one or both the Swing-a-Long Bridge or the Stone Bridge. I did both for the sake of the experience. If you enjoy having your feet planted firmly on the ground, choose the Stone Bridge. However, the Swing-a-Long Bridge was a bit of a thrill. And yes, I did wait for the child jumping on the bridge to get off before I made my crossing.

    You’re basically at Lover’s Leap at this point, so you can either go there or save it for the end and go to the next trail, Hall of the Mountain King.

    🪨 Hall of the Mountain King Trail

    I’ll be honest, I almost didn’t do this one because the first part of the trail takes you through Fat Man’s Squeeze, and if you’re claustrophobic it can be a bit intimidating. However, I managed to try it and it wasn’t bad at all—it was actually a lot of fun, and I’m glad I did because it ended up being my favorite trail.

    On this trail you’ll see:

    • Fat Man’s Squeeze – a narrow rock passage you walk through (one of the most famous tight spots in Rock City)
    • Standing Stones Garden – a peaceful area with tall stone formations arranged like an ancient circle
    • Rainbow Hall – a tunnel/corridor with colorful lighting and glowing stone effects
    • Balanced Rock – a massive boulder that looks impossibly perched on a small base
    • Ibsen the Troll – a troll sculpture tied to the mountain folklore theme
    • The Throne – a carved, dramatic rock feature styled like a seat of power
    • Heart of the Mountain – a more symbolic/artistic centerpiece of the trail
    • Observation Point – one of the viewpoints along the path with wide scenery

    🧚 Fairyland Caverns

    The fourth and final trail is Fairyland Caverns.

    Fairyland Caverns is a dark, indoor cave-style walkthrough created as part of Rock City’s mid-20th-century expansion. It was developed under the vision of Frieda Carter, who wanted to turn the mountain into a fairy tale world brought to life.

    On your walkthrough through Fairyland, you’ll pass through dark and colorful caverns filled with figurines of gnomes living in the crevices of the cave. It was very enchanting and a little creepy, so I loved it. At the end of the trail you’ll enter a large opening where Mother Goose’s Village is located and you’ll see gnome figurines of nursery rhyme characters—I felt like I was walking through a book of nursery rhymes.

    Fairyland leads to the exit through the gift shop (naturally) where you’ll find adorable gnome figurines, t-shirts, ornaments, mugs—you name it. They even had one of those rock-collecting stations where kids can fill a little bag with their favorite stones, which brought back childhood memories.

    🏔️ Lookout Mountain & Lover’s Leap

    But let’s talk about the main attraction now.

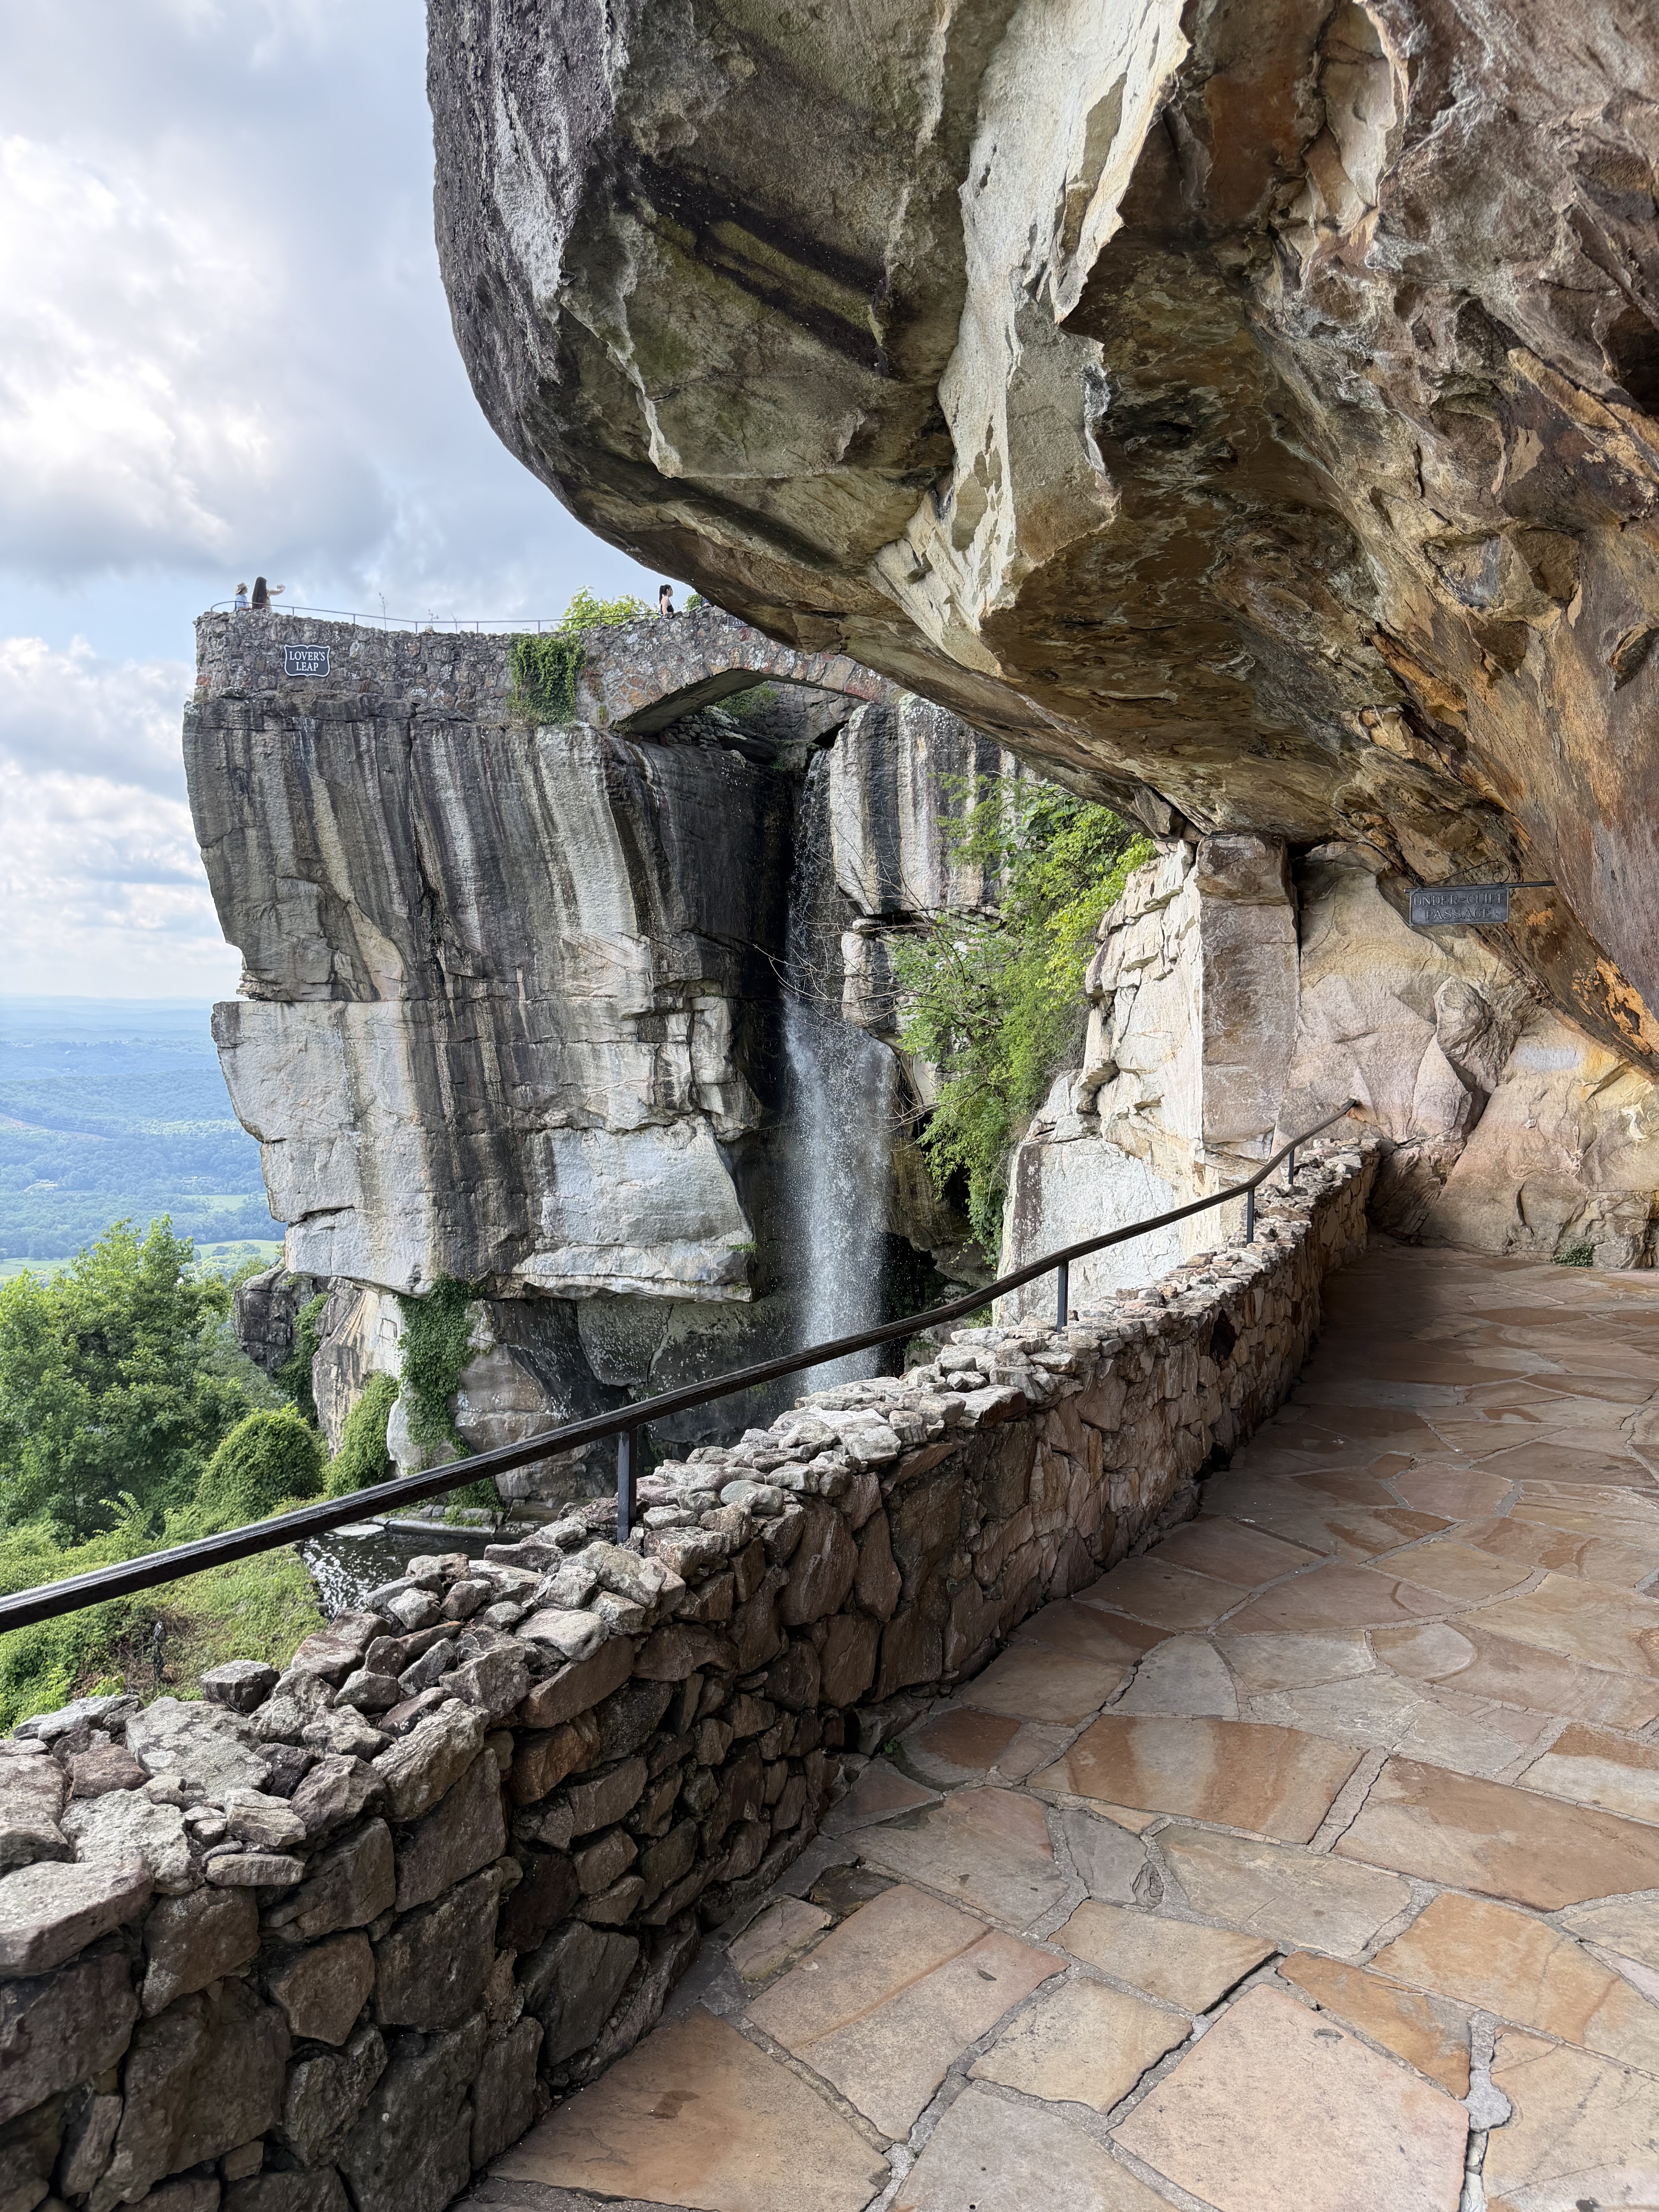
    From Lover’s Leap, you’re standing at a wide overlook marked by a row of flagpoles along the cliff’s edge, each one serving as a tribute to the surrounding states in view. It’s a simple but powerful detail that frames the landscape, and on a clear day you can see seven states from this point: Tennessee, Georgia, Alabama, North Carolina, South Carolina, Kentucky, and Virginia.

    Lookout Mountain, straddling the Tennessee–Georgia line, is a long ridge known for its sweeping views, historic significance, and layered stories. It was the site of the 1863 “Battle Above the Clouds” during the Civil War, when Union and Confederate forces fought for control of the high ground overlooking Chattanooga. 

    Standing on Lookout Mountain today, it’s remarkable to think that the peaceful views were once filled with cannon fire, musket smoke, and thousands of soldiers fighting in the fog during the Battle Above the Clouds.

    Today, it’s home to Rock City and the famous Lover’s Leap overlook. 

    According to local folklore, Lover’s Leap takes its name from a Native American legend about two young lovers from rival tribes who, unable to be together, chose to leap from the cliff rather than be separated. While the story exists in many variations and is considered legend rather than documented history, it has become part of the mountain’s enduring identity—blending natural beauty, history, and myth into one unforgettable viewpoint.

    Until Next Time, Chattanooga

    Nineteen hours in Chattanooga flew by, but choosing to spend part of that time at Rock City turned out to be exactly what I needed. It was peaceful, beautiful, and just the right mix of adventure and relaxation. From sipping coffee on a mountaintop to wandering through winding trails and taking in the views, it made for a pretty perfect layover morning. I have a feeling this won’t be my last visit. There may already be a bestie trip in the works to see Rock City’s Christmas lights this winter—this time with Teddy tagging along, of course!

    Know Before You Go
    • 🚶‍♀️ The trails include uneven terrain, shallow steps, and narrow rock passages
    • 💧 Some areas can be damp or slippery, especially inside cave-like sections
    • 👶 Strollers are not very practical due to stairs and tight pathways
    • 🐶 Dogs are allowed, but navigating narrow areas can be challenging
    • ⏰ Tickets require selecting a specific date and time in advance
    • 🧭 The layout is a loop system, but it can still feel maze-like—backtracking is normal

  • Double Chocolate Kodiak Protein Muffins  (Easy High-Protein Breakfast)

    Double Chocolate Kodiak Protein Muffins  (Easy High-Protein Breakfast)

    I’m not reinventing the wheel here—this recipe is one I found a while back, but I’m sharing it because it never lets me down.

    I usually wake up hungry, but at 4 a.m. I can’t stomach a full breakfast, and I definitely don’t want anything smelly like boiled eggs. These muffins are the perfect solution. They’re easy to grab on the go, incredibly portable, and honestly, I can’t imagine heading to work without them. They keep me full for hours and pack a decent amount of protein, too. 💪 There are also a lot of different combinations you can try—I rotate the flavors, but my favorite is double chocolate. Chocolate muffin mix with the chocolate Core Power gives total cosmic brownie vibes 👌

    Ingredients:

    ● 1 box Kodiak muffin mix

    ● 1 (42g) Core Power shake

    ● 4 oz Greek yogurt

    Instructions:

    1. Combine the muffin mix and Core Power shake, stirring until just mixed.

    2. Stir in the Greek yogurt.

    3. Spray a muffin pan with nonstick cooking spray (I’d skip paper liners—this mix tends to stick).

    4. Bake at 350°F for 23 minutes.

    Store in the refrigerator for up to a week, or freeze for longer storage—they freeze really well!

    Nutrition

    🧁 Per muffin (12 muffins total)

    ⭐ Calories

    • ~42–43 kcal each

    💪 Protein

    • ~5.5 g each

    🍞 Carbs

    • ~4 g each

    🧈 Fat

    • ~0.6 g each

  • Homemade Flaxseed Hair Gel Recipe

    Homemade Flaxseed Hair Gel Recipe


    As promised, here’s my homemade flaxseed gel recipe. It’s ridiculously simple, inexpensive, and takes less than 15 minutes to make. The recipe itself is easy—but the pro tips are what will save you from ending up with a sticky mess and a wasted batch.

    Ingredients

    ● ¼ cup whole flaxseeds

    ● 2 cups of water

    Instructions

    1. Add the flaxseeds and water to a small saucepan.

    2. Bring the mixture to a boil over medium heat, stirring occasionally.

    3. Once the liquid begins to thicken and becomes slightly sticky, remove it from the heat.

    4. Immediately strain the seeds from the liquid using a fine mesh strainer.

    5. Allow the gel to cool completely before using or transferring it to a container.

    Storage

    Store your flaxseed gel in an airtight container in the refrigerator for up to two weeks.

    Pro Tips

    ● Strain early. As soon as the liquid becomes even slightly sticky, it’s time to strain it. Don’t wait until it reaches your desired gel consistency—the mixture will continue to thicken as it cools.

    ● Skip the cheesecloth. Trust me on this one. I tried using cheesecloth, and it did not go well. A fine mesh strainer works much better.

    ● Add a natural scent. I’ve simmered the mixture with a cinnamon stick before, and it gives the gel a subtle, cozy scent.

    ● Customize it. You can add a few drops of essential oil once the gel has cooled. Rosemary is one of my favorites. I would be cautious with citrus oils, though, as some can potentially lighten hair with repeated use.

    Bonus tip: You can actually re-boil the same flaxseeds a couple of times to get additional batches of gel before discarding them, which makes this even more budget-friendly and reduces waste.

    Why I Use Flaxseed Gel

    My hair is low porosity and prone to frizz, so I’m always looking for products that provide moisture without weighing my hair down. One of the reasons I love flaxseed gel is that it’s alcohol-free, so it doesn’t dry out my hair the way many store-bought gels can. Flaxseeds are also naturally rich in omega-3 fatty acids and vitamin E, which can help support healthy-looking hair.

    I’ve also noticed it helps improve the appearance of my nails and cuticles and has personally helped me clear up the occasional zit.

    I’ve found that flaxseed gel gives me definition and hold without leaving my hair crunchy or stiff.

    As a pilot, I’m constantly moving between different climates and spending long days in dry cabin air, so keeping my hair moisturized and frizz-free can be a challenge. This has become one of my favorite products for maintaining my hair while on the go.

    How I Use It

    I typically apply flaxseed gel to soaking wet hair. If I’m wearing my hair naturally, I use the Curly Girl Method and drench my hair in the gel while it’s wet to encourage curl definition and minimize frizz.

    On days when I want a polished look, I’ll also apply it generously to wet hair and brush it back into a slicked-back updo.

    If needed, I’ll add a little more gel once my hair is dry to tame any remaining frizz or touch up my style.

    Have you ever made your own hair products before? I’d love to hear what you’ve tried—or if you have any favorite additions to flaxseed gel.