Between Flights

  • My Glow-Up Routine: What Actually Works for Me

    My Glow-Up Routine: What Actually Works for Me

    I used to think a glow-up had to mean making a huge change: dying your hair, completely changing your wardrobe, or giving yourself an entire makeover.

    But after years of trial and error, I’ve learned that a glow-up doesn’t have to be dramatic.

    Sometimes, it’s just figuring out what actually works for you.

    I still love trying new things, but now I have a baseline I can always come back to.

    Over time, I’ve figured out the little routines, habits, and products that consistently make me feel my best—and I’m sharing all of it here. At the end of this post, I’ve also rounded up my tried-and-true, go-to products: the things I genuinely use, love, and keep coming back to.

    Polish & Accentuate Your Best Features

    If you take away anything from this post let it be this. Polish and accentuate your best features by:

    • Figuring out what features you naturally like most. Using makeup, hair, skincare, clothing, etc. to enhance rather than completely change them
    • Find colors, hairstyles, and silhouettes that flatter you. Keeping your overall appearance polished and intentional
    • Lock in those small details that make you feel more put together

    Stop Chasing the Perfect Routine

    If my hair isn’t cooperating, I know what to do.

    If my skin is looking dull, I have a skincare routine.

    If I’ve gotten out of my workout routine, I know where to restart.

    If I need an outfit and don’t know what to wear, I know which colors and silhouettes I feel best in.

    I’m not starting from zero every time.

    That’s the difference between constantly chasing a “glow-up” and actually learning what works for you.

    So rather than giving you another list of 25 things you need to do to glow up, I want to show you how I built my own realistic glow-up routine—and how you can figure out yours.
    My Glow-Up Routine Formula

    Learn yourself → Experiment → Notice what works → Simplify → Repeat

    Your glow-up routine might look completely different from mine.

    That’s the point.

    There isn’t one perfect hair routine, skincare routine, workout, diet, or wardrobe that works for everyone.

    The goal isn’t to find the perfect routine.

    It’s to know yourself well enough that when you want to look and feel your best, you already know where to start.

    1. Hair: Find Your Foolproof Hair Routine

    You don’t need a bathroom full of hair products to have a good hair routine.

    You need to understand your hair and what consistently works for it.

    Start paying attention to:

    • How often your hair actually needs to be washed
    • Which hair products consistently work
    • Whether your hair looks better air-dried or styled
    • Which hairstyles make you feel put together
    • What you can do quickly when you’re short on time

    Once you figure that out, a bad hair day becomes much easier to fix.

    My Go-To Bad Hair Day Style

    One of my favorite “I need to look put together” tricks is a slicked-back twist with a jaw clip.

    I wet my hair, add flax seed gel, brush it back, twist it, and secure it with a jaw clip. It takes just a few minutes, stays put, and instantly looks polished. Homemade Flaxseed Hair Gel Recipe

    Add a bold lip and I’m ready to go.

    I’ve been using MAC’s Twig Twist for years. It’s a bold neutral that looks super flattering on all skin tones, in my opinion.

    Glow Up Tip: 

    Find your own emergency beauty look—a hairstyle, makeup combination, or outfit you know will work every time.


    2. Skin: Build a Simple Skincare Routine

    Skincare can get complicated quickly.

    There is always another ingredient to try, another product trending, or another routine promising to transform your skin.

    Before adding more, figure out what keeps your skin feeling healthy, calm, and hydrated.

    Find the skincare products your skin consistently likes and build your routine around them.

    Then, if you want to experiment with something new, you have a baseline to return to if it doesn’t work.

    What Works for My Skin

    I’ve learned that my skin does really well with a little extra moisture.

    On especially dry days, I’ll do my regular nighttime skincare routine and finish with a thin layer of Vaseline before bed.

    I wake up with noticeably softer, more supple skin.

    It’s a simple trick, but it’s one of those things I’ve found through trial and error that works really well for me.

    Glow Up Tip: 

    Before adding another skincare product, pay attention to what your skin consistently responds well to.


    3. Hygiene: Build Your Everyday Essentials

    This might not be the glamorous part of a glow-up routine, but it makes a huge difference.

    Figure out the little things that make you feel clean, fresh, comfortable, and put together.

    For me, that includes:

    • My shower and body-care routine
    • Oral care
    • Keeping my brows maintained
    • Having my favorite products on hand
    • Staying comfortable during long or busy days

    The goal isn’t to create an elaborate hygiene routine.

    It’s to know what makes you feel your best and make those things automatic.

    Because sometimes feeling like you’ve got your life together isn’t about doing something new.

    It’s just taking care of the basics consistently.

    My Long-Day Essentials

    For long, busy, or warm days, I keep a few essentials on hand to help me feel fresh: panty liners, travel-size mouthwash, antibacterial wipes, and a travel-size body spray.

    They’re simple things, but they make a big difference when I’m on the go all day.

    Glow Up Tip: 

    Find the little hygiene products and habits that help you feel fresh, comfortable, and confident—especially when you’re away from home.


    4. Color: Know What Makes You Glow

    This was a game changer for me.

    Pay attention to the colors that make you look brighter and the ones that seem to wash you out.

    Think beyond clothing, too.

    Your best colors can influence:

    • Jewelry metals
    • Makeup tones
    • Hair colors
    • Clothing
    • The shades you reach for when you want to feel especially good

    You don’t necessarily need to follow a strict color analysis system.

    Just start noticing.

    When you find the colors that consistently flatter you, they can become the foundation for so many other style and beauty decisions.

    And getting dressed gets a whole lot easier.

    Glow Up Tip: 

    Pay attention to the outfits where you consistently feel like you look your best. What colors are you wearing?


    5. Fitness: Find a Workout Routine That Works for You

    Fitness is another area where it’s easy to get distracted by what everyone else is doing.

    A workout can be popular without being the right workout for you.

    Instead, pay attention to how your body responds.

    Ask yourself:

    • What types of exercise do I actually enjoy?
    • What can I stick with consistently?
    • What helps me feel stronger?
    • What gives me the results I want?
    • What leaves me energized instead of completely drained?

    Your fitness routine should be based on your goals and your body, not someone else’s.

    Once you find a workout routine that works, you don’t have to replace it every time a new fitness trend comes along.


    6. Food: Build a Nutrition Routine That Makes You Feel Good

    This isn’t about finding the “perfect” diet.

    It’s about figuring out what makes you feel good and making those choices easier.

    I like having a few reliable foods and meals I can fall back on:

    • Easy breakfasts
    • Satisfying lunches
    • Go-to snacks
    • Simple dinners
    • Meals I genuinely enjoy eating

    The more you learn about what foods make you feel your best, the less effort it takes to make good choices—especially during busy weeks.

    How I Choose What to Eat

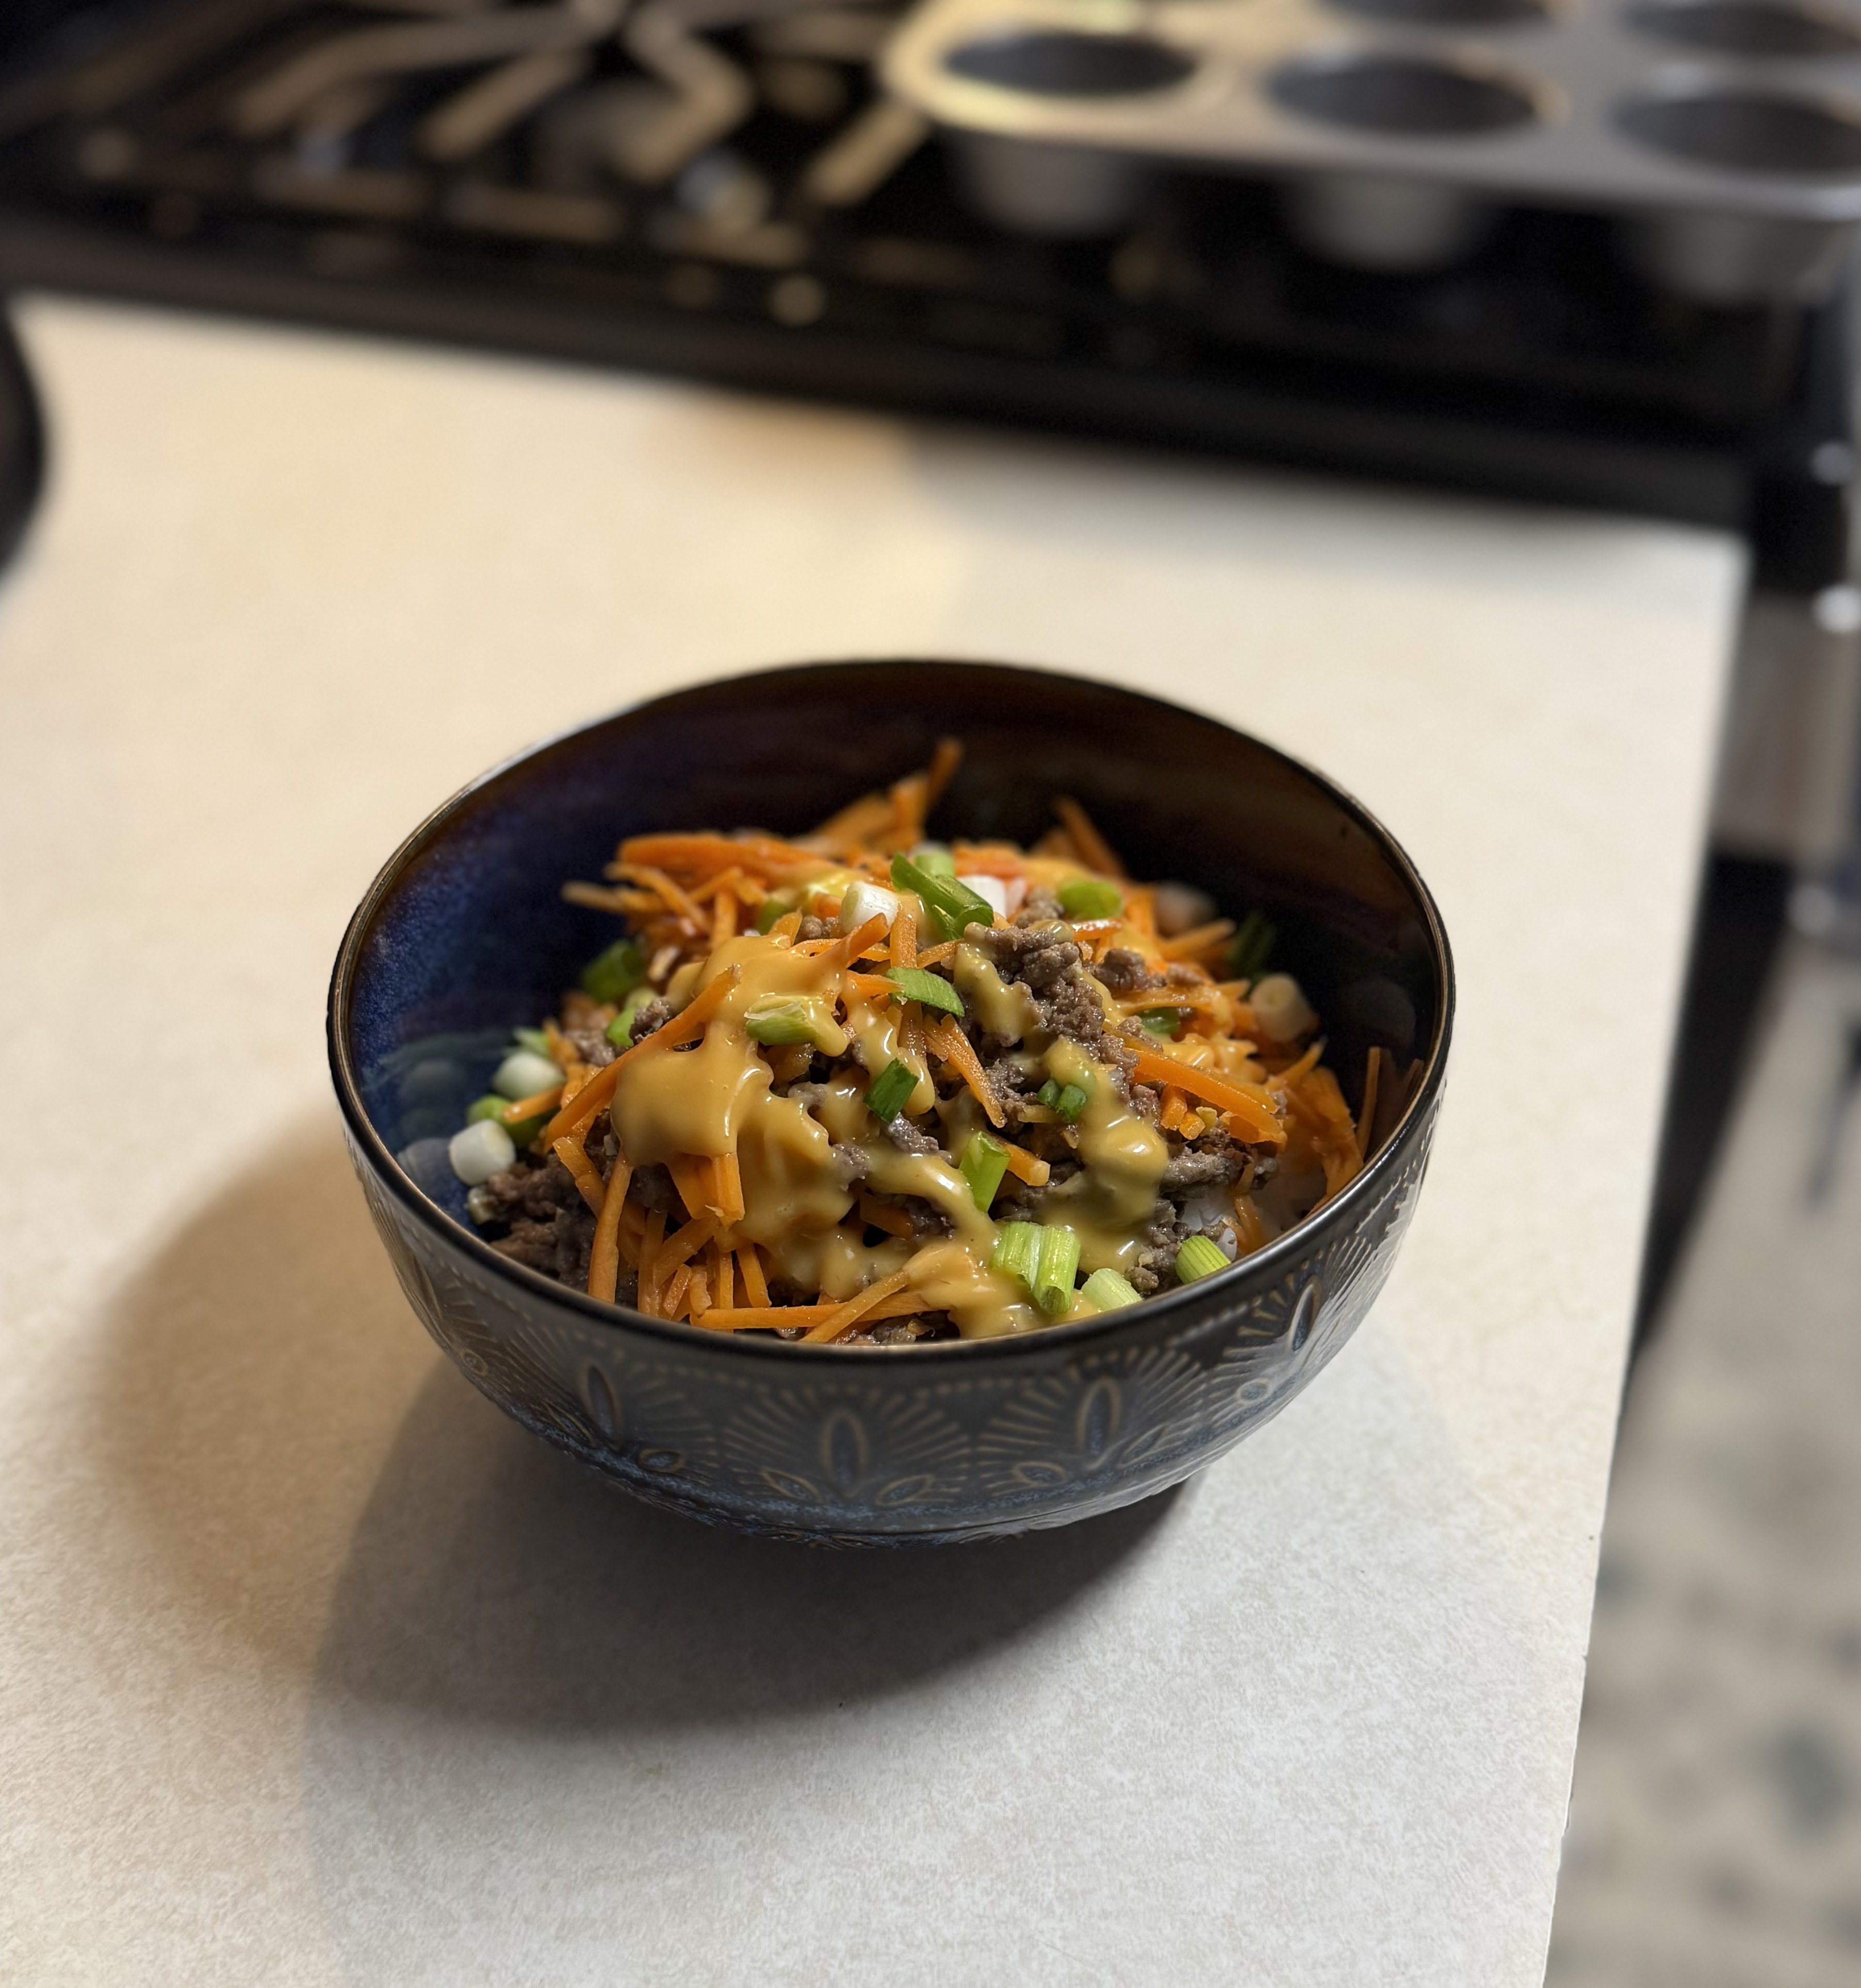
    Instead of choosing foods just because they’re considered “healthy,” I look at what benefits they offer and find simple ways to work them into meals I already enjoy.

    I think about what I want more of—protein, fiber, healthy fats, antioxidants, better digestion, or steady energy—and build from there.

    It makes eating well feel less like following a diet and more like giving my body what it actually needs.

    Glow Up Tip: 

    Don’t just ask, “Is this healthy?” Ask, “What does this food actually offer me?”


    7. Put Your Glow-Up Routine Together

    Eventually, all of these little discoveries start to become your personal formula.

    Your:

    • Reliable hairstyle
    • Simple skincare routine
    • Hygiene essentials
    • Best colors
    • Favorite workouts
    • Staple meals
    • Go-to outfit

    And suddenly, “getting yourself together” doesn’t feel like a massive project.

    You have a system.

    You know what works.

    And you know where to start when life gets busy.

    Final Thoughts

    I don’t think a glow-up happens all at once. Most of mine has happened by getting just 1% better at a time—trying something new, noticing what works, and keeping the things that make me feel my best.

    Over time, those little discoveries add up.

    That’s what a glow-up means to me now. Not becoming someone completely different, but knowing yourself well enough to bring out the best version of who you already are.

    You don’t need a perfect routine. You just need to find what works for you.


    Products I Use & Love

    These are simply some of the products I’ve tried, loved, and incorporated into my own routine—from hair and skincare to wellness, fitness, and everyday staples.

    I’m always refining what works for me, but these are the products I find myself reaching for again and again.

    Hair

    Redken Acidic Bonding Concentrate Leave In Conditioner & Heat Protection

    Redken Acidic Color Gloss Shampoo & Conditioner 

    Jojoba Oil

    Skin

    CeraVe Hydrating Cleanser with Hyaluronic Acid, Face Wash for Dry Skin

    Jergens Natural Glow Face Self Tanner Lotion SPF 20

    Organic Cold Pressed Castor Oil

    Protini™ Polypeptide Firming Refillable Moisturizer

    The Ordinary Hyaluronic Acid  (this stuff is amazing for my seasonal eczema)

    Hygiene

    TheraBreath Healthy Gums Oral Rinse

    Panty Liners

    Antibacterial Body & Hand Sanitizing Cloths

    Colors

    Mac Lip Stick

    Triclone Skin Tech Foundation

    Fenty Liquid Blush

    Fitness

    Resistance Bands

    Hip Thrust Belt

    Pilates Bar Kit with Resistance Bands

    Nutrition

    Protein Shaker Bottle Collapsible

    Propel Electrolyte Powder Drink Mix

    Electric Heated Lunch Box

  • How to Budget for a Trip to Europe: A First-Time Traveler’s Guide

    How to Budget for a Trip to Europe: A First-Time Traveler’s Guide

    One of the first questions most people ask when planning a trip to Europe is:

    “How much is this actually going to cost?”

    And the answer is… it depends.

    A two-week luxury vacation through Europe will look very different from a budget-friendly adventure. Your destination, travel style, time of year, and the experiences you want to have will all affect your final cost.

    The good news? Planning a Europe trip does not have to feel overwhelming.

    Instead of trying to guess one giant number, break your budget into a few simple categories. Once you understand the major expenses, you can make decisions that fit your travel style and your wallet.

    Travel planning workspace with a laptop, Canon camera, notebook, pen, and drink on a desk.

    Step 1: Separate Your Fixed Costs From Your Flexible Costs

    Before you start thinking about how much you’ll spend on food, shopping, or activities, separate your budget into two categories: fixed costs and flexible costs.

    Your fixed costs are the expenses you need to account for before your trip. These are the things that usually determine whether your trip is possible.

    Your Fixed Costs

    ✈️ Flights
    Your airfare will likely be one of your biggest expenses and can vary depending on your destination, travel dates, and flexibility.

    🏨 Accommodations
    Your hotel or lodging costs will depend on your location, length of stay, and travel style.

    🚆 Transportation
    This includes things like:

    • Trains between cities
    • Rental cars
    • Airport transfers
    • Public transportation passes

    🎟️ Pre-booked Experiences
    Some attractions and tours require advance tickets, so include these before calculating your daily spending money.

    🛡️ Travel Insurance
    A small cost that can protect a much larger investment.


    Step 2: Use What’s Left Over as Your Daily Spending Budget

    Once you know your fixed costs, you can figure out how much you have available for the fun parts of your trip.

    Your remaining money covers your flexible expenses:

    🍝 Food and drinks
    ☕ Coffee stops
    🍦 Snacks and treats
    🛍️ Shopping and souvenirs
    🍷 Extra experiences
    💆 Spontaneous moments

    This is where your travel style comes into play.

    Some travelers are happy grabbing quick meals and spending more on activities. Others may want longer dinners, nicer restaurants, and fewer paid attractions.

    There is no right or wrong way to travel—the goal is knowing what matters most to you.

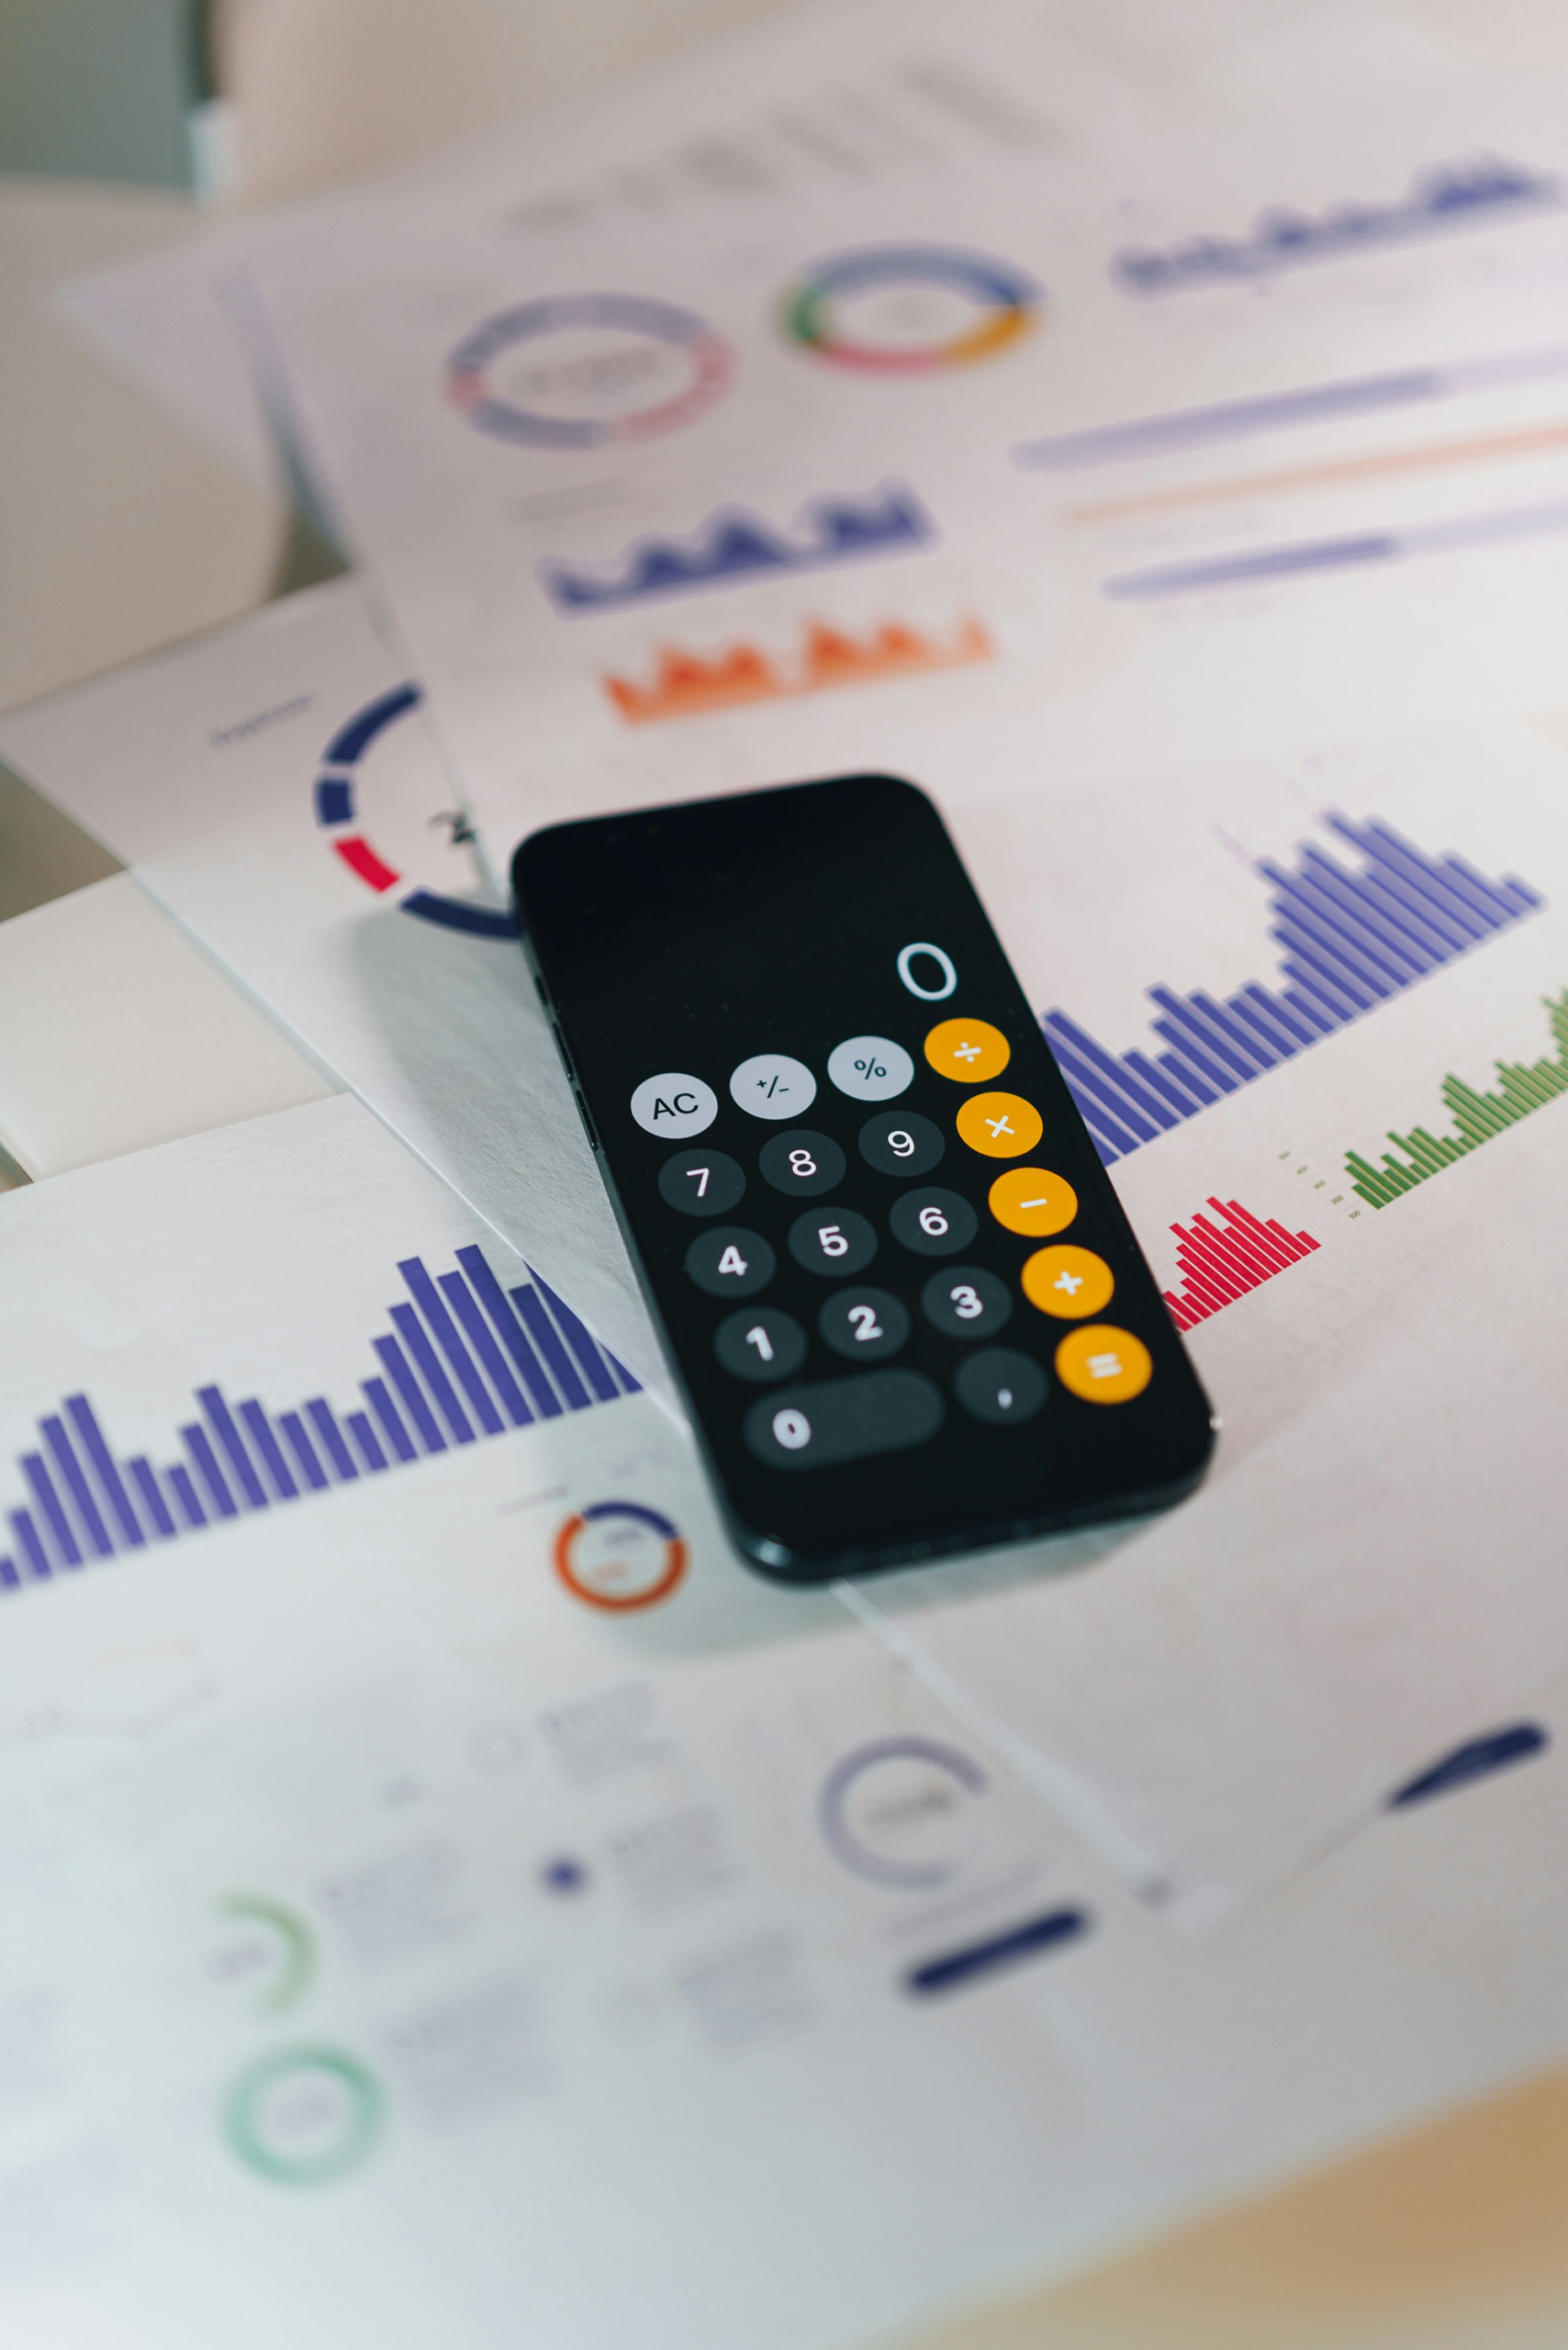
    Here’s the simple formula:

    Total trip budget
    − Fixed costs
    Money available for daily spending

    Then:

    Money available for daily spending
    ÷ Number of travel days
    Your daily spending budget

    Example:

    Total trip budget: $3,500

    Fixed costs:

    • Flights: $900
    • Hotels: $1,200
    • Transportation: $300
    • Pre-booked activities: $200

    Remaining flexible budget: $900

    Trip length: 10 days

    Daily spending budget: $90/day

    Now you have a realistic guide for what you can spend each day while still enjoying your trip.

    Step 3: Decide What Is Worth Spending More On

    Not every part of your trip needs to have the same priority.

    Before cutting costs, decide what matters most to you.

    Are you someone who wants to:

    🍝 Eat at amazing restaurants?
    🏛️ Visit every major museum?
    🍷 Take a wine tour?
    📸 Book unique experiences?
    🛍️ Bring home souvenirs?

    Spend your money where it creates the memories you care about most.

    Saving money does not mean making your trip less enjoyable. It means being intentional about where your money goes.

    Europe Budgeting Pro Tips

    ✈️ Be flexible with your destination if possible.
    Sometimes the best flight deal can determine where your trip begins.

    🏨 Don’t choose accommodations based on price alone.
    A cheaper hotel far away from everything may cost more in transportation and time.

    🚆 Don’t underestimate transportation costs.
    Include airport transfers, trains, and local transportation when planning.

    💳 Use a credit card with no foreign transaction fees.
    Those small fees can add up over an entire trip.

    💰 Build in a cushion.
    Unexpected expenses happen. Extra money gives you flexibility and peace of mind.

    🛍️ Create a souvenir budget before you leave.
    It’s much easier to enjoy shopping when you already planned for it.

    🥐 Remember the little moments add up.
    Coffee, pastries, gelato, and drinks are part of the experience—not things you need to feel guilty about.

    Final Thoughts

    A successful Europe trip is not about spending the most money. It’s about creating a budget that supports the kind of trip you want to have.

    Once you understand your fixed costs, calculate your daily spending budget, and prioritize the experiences that matter most, planning becomes much less intimidating.

    Your budget is not there to limit your trip—it is what helps make the trip possible.

    Planning Your Trip? Read This Next

    ✈️ How to Plan Your First Trip to Europe (Without Feeling Overwhelmed)

  • How to Plan Your First Trip to Europe (Without Feeling Overwhelmed)

    How to Plan Your First Trip to Europe (Without Feeling Overwhelmed)

    Planning your first trip to Europe can feel like solving a giant puzzle. Which countries should you visit? When should you book flights? Do you need cash? How many days do you need?

    The good news is that once you’ve planned one trip, every trip after that becomes easier.

    Here’s the exact process I use every time I plan a European vacation.

    Step 1: Decide Why You’re Going

    Before you even look at flights, ask yourself one question:

    What kind of trip do I want?

    Maybe it’s…

    • history
    • beaches
    • food
    • hiking
    • Christmas markets
    • wine
    • relaxing cafés
    • photography

    This helps narrow down where you should go instead of trying to see all of Europe in one vacation.

    Step 2: Pick One Country

    One of the biggest mistakes first-time travelers make is trying to visit five countries in eight days.

    Instead, pick one country.

    Italy, France, Portugal, Ireland, or Spain all make excellent first trips.

    If you have two weeks, maybe add a neighboring country—but don’t feel like you have to.

    You’ll spend less time hauling luggage through train stations and more time actually enjoying your vacation.

    Step 3: Decide When to Go

    Every season offers something different.

    SeasonBest For
    SpringFlowers, fewer crowds, comfortable weather
    SummerBeaches and long daylight hours
    FallWine harvest, cooler temperatures
    WinterChristmas markets and fewer tourists

    Step 4: Figure Out How Long You Can Travel

    Now work backwards.

    • vacation days
    • budget
    • flight times
    • travel between cities

    A seven-day trip feels very different from a fourteen-day trip.

    Don’t try to cram too much into a short vacation.

    Step 5: Build Your Route

    Now start connecting the dots.

    Example:

    Days 1–4 Rome

    Days 5–7 Florence

    Days 8–10 Venice

    Look at Google Maps.

    Look at train times.

    Ask yourself:

    “Does this route actually make sense?”

    I like to start by dropping every place I want to visit into

    Wanderlog, a free trip-planning app. It lets you organize your itinerary day by day, map out attractions, and see how far apart everything is before you book hotels or transportation.

    Step 6: Estimate Your Budget

    Break everything into categories.

    • Flights
    • Hotels
    • Transportation
    • Food
    • Activities
    • Shopping
    • Emergency money

    Having categories makes saving feel much less intimidating.

    Before you book anything, check out my guide on How to Budget for Your First Trip to Europe,

    Step 7: Book Your Flights First

    Once your dates are set…

    Book your flights.

    Then everything else falls into place.

    It’s a good idea to start tracking airfare several months before you want to travel so you recognize when a good deal appears.

    If I’m not using my flight benefits my main source for finding fights has always been Sky Scanner.

    Step 8: Reserve Your Hotels

    Now book accommodations.

    Think about:

    • walking distance
    • public transportation
    • neighborhood
    • cancellation policy
    • breakfast included

    A cheaper hotel isn’t always a better value if you’re spending extra money on taxis every day.

    Step 9: Plan Transportation

    Now answer these questions:

    Will you

    • take trains?
    • rent a car?
    • fly between cities?

    For Italy, trains are often the easiest option between major cities.

    Step 10: Book Popular Attractions Early

    Many famous attractions sell out.

    Examples include:

    • Vatican Museums
    • Colosseum
    • Eiffel Tower
    • Anne Frank House

    Booking ahead saves time and often money. Whenever possible, book directly through the attraction’s official website.

    Step 11: Learn the Basics Before You Go

    Things like:

    • currency
    • electrical outlets
    • local transportation
    • tipping culture
    • emergency numbers
    • common phrases

    Learning these before your trip reduces stress once you arrive.

    Step 12: Check Your Passport

    This sounds obvious…

    …but make sure your passport is valid well before your departure date.

    Many destinations require it to remain valid for months beyond your travel dates.

    Don’t wait until the last minute to check.

    Step 13: Enroll in STEP (If You’re a U.S. Citizen)

    If you’re a U.S. citizen, consider enrolling in the Smart Traveler Enrollment Program (STEP) before you leave.

    STEP is a free service offered by the U.S. Department of State that lets you register your trip with the nearest U.S. embassy or consulate.

    While most vacations go exactly as planned, enrolling in STEP can help you receive important safety alerts about your destination and makes it easier for the embassy to contact you or your emergency contacts if there’s a natural disaster, civil unrest, or another emergency while you’re abroad.

    It only takes a few minutes to sign up, and it’s one of those small tasks that can provide extra peace of mind before your trip.

    Step 14: Create a Packing List

    Start your packing list at least a week before your trip.

    Add items as you think of them.

    By packing gradually, you’re much less likely to forget something important.

    Or you can use mine! The Ultimate Carry-On Packing Guide: What to Pack in Your Carry-On Bag (2026)

    Step 15: Prepare for Travel Day

    The night before:

    • check in online
    • download airline apps
    • save boarding passes
    • charge electronics
    • pack medications in your carry-on
    • refill prescriptions
    • download entertainment
    • empty your camera memory card

    Little things make travel day much smoother.

    Step 16: Enjoy the Trip

    Two glasses of white wine served with fresh bread and bakala at a European restaurant.

    Remember:

    You don’t have to see everything.

    Europe isn’t going anywhere.

    Leave room for wandering, getting lost down side streets, lingering over coffee, and saying yes to unexpected experiences.

    Those often become the best memories.

    Helpful Articles for Planning Your Trip

  • A Day in the Life of an Airline Pilot

    A Day in the Life of an Airline Pilot

    Every airline pilot’s day looks a little different. Some pilots live in base and have a simple commute to work, while others (like me) commute to their assigned base before starting a trip.

    Commuting to Work

    Today, I had a commutable trip, which means I was able to get to my base and start my schedule without needing to travel the night before.

    0615 — Wake Up and Get Ready

    The day started a little earlier than planned because Teddy chose the morning of a trip to remind me that dogs have impeccable timing. 😅 After making sure he was okay, I finished getting ready, grabbed my bags, and headed out to commute to work.

    My alarm went off at 0615, giving me about an hour and a half to take care of Teddy, get myself ready, and head to the airport.

    One of the hardest parts of this job is leaving him behind. I hate saying goodbye just as much as Teddy hates watching me go.

    He’s become an expert at recognizing my suitcase and my “work morning” routine, which means he usually knows what’s coming before I even walk out the door.

    To make our goodbyes a little easier, I always give him a bone before I leave. It’s become our little routine — a distraction for him and a little peace of mind for me.

    Everything else was packed and prepared the night before because early mornings as an airline pilot don’t leave much room for last-minute scrambling.

    One thing that makes pilot life easier? Preparation. Everything was already packed and ready to go from the night before. When your workday can start before sunrise, the less you have to think about in the morning, the better.

    Getting to the Airport

    I drove to the airport and parked in employee parking, which is an expense I pay for as part of my commute.

    After parking, I made my way through special security, and headed to the gate just as boarding groups 1–4 were beginning.

    Since I was commuting to work, I was flying standby. Luckily, I was able to get an aisle seat, but standby travel is never guaranteed. That’s why my company requires pilots to have at least two viable commuting options to make sure we can reliably get to work.

    The downside? Commuting can make an already long day even longer.

    Arriving at Base 12:05pm

    Once I arrived at my base, I walk about a mile to get to the terminal I needed to be in.

    I had some time before reporting for duty. I used that time to review the flight, check the weather, go through the paperwork, and (of course) get some caffeine.

    There’s a lot that happens before passengers ever step onto the airplane. Preparation is a huge part of being an airline pilot.

    Lunch 1330

    I hadn’t eaten since 6:45am so I opened my lunch bag only to discover that I’d only packed a spoon for a utensil and my pasta salad had somehow turned into a popsicle. 🥶 

    I packed plenty of food for the trip, but everything that wasn’t frozen needed to be heated up—and my travel food warmer was buried somewhere at the bottom of my roller bag.

    I could’ve dug it out or truck over  to the crew room, but with boarding not too far away, Starbucks suddenly sounded like the easier option.

    So… breakfast wrap it is. Not even one flight into the trip, and I’m already buying airport food. Airline life keeps you humble. 😂

    45 Minutes Before Departure

    Forty-five minutes before departure, I arrive at  the gate to meet the rest of the crew. We checked in with the gate agent, headed down the jet bridge, stowed our luggage, and got the airplane ready for departure.

    Everything came together surprisingly smooth. We closed the aircraft door early, pushed back on time, and taxied straight to the runway with no delays—pretty rare at such a busy airport! We even arrived at our destination and blocked in about 30 minutes ahead of schedule.

    Arriving at the Hotel

    After securing the aircraft, we made our way to the pick up area, and, in a rare stroke of luck, our hotel van was already waiting for us. It doesn’t always work out that way, but today everything seemed to line up perfectly.

    Once we checked into the hotel, we stopped by the crew room for a quick snack before heading upstairs.

    It’s a nice little perk that some hotels provides for flight crews and is always appreciated after a long day.

    Slam click! 

    Finally Behind the Hotel Room Door

    The best feeling after a travel day is finally closing the hotel room door behind you.

    I unpacked my lunch box into the fridge and tried out a new portable food warmer since this hotel didn’t have a microwave in my room, and I couldn’t be bothered to go downstairs to use the one in the lobby.

    And can I just say… what a luxury this purchase has been for me. 😂

    Some flight attendants recommended it to me months ago, and I finally caved. Best purchase ever.

    I plugged it in along with all my other devices, took a shower, ironed my uniform, and did my skincare routine. By the time I was finished, my food was plenty warm.

    I turned on the TV, enjoyed my dinner, and finally got to relax.

    Calling It a Night

    Tomorrow’s van leaves at 5:10 a.m., which means my alarm is set for 3:40 a.m.

    Unfortunately, that doesn’t leave enough time to explore this city, but tomorrow’s overnight is much longer, and the crew and I are planning to get out and do a little sightseeing.

    And that’s pretty much it! Airline life isn’t always glamorous. Some days are sightseeing and amazing overnights, and other days are 3:40 a.m. alarms, frozen lunches, and heading straight to bed. That’s just part of the job—and honestly, I wouldn’t trade it.

  • How to Spend an Afternoon in New Orleans: Food, Music & French Quarter Charm | Layover Diaries

    How to Spend an Afternoon in New Orleans: Food, Music & French Quarter Charm | Layover Diaries

    Some layovers are for catching up on sleep. This one was for making memories.

    Visiting Yvonne LaFleur’s Boutique

    My first stop was finally visiting Yvonne LaFleur, someone I’ve followed on Instagram for what feels like forever. Her boutique had been on my list for the longest time, so stepping through the front door felt like checking off a bucket-list item.

    wedding dresses hung from the ceiling

    The experience was even more special than I expected. Yvonne welcomed me like an old friend, took me by the hand, and walked me through her beautiful boutique, sharing the stories behind the artwork she’d collected over the years. She told me how she got started, spoke about her family, and made me feel completely at home.

    It felt less like shopping and more like being welcomed into someone’s story.

    Lunch at Royal House Oyster Bar

    Afterward, we headed to Royal House Oyster Bar for lunch. The food was incredible, the food quite literally touched my soul.

    Everything was delicious, but the grilled oysters completely stole the show. I’ll definitely be thinking about those long after this trip.

    Exploring Bourbon Street

    With full stomachs, we wandered down Bourbon Street, where live music poured out of nearly every doorway and the whole street buzzed with energy.

    We stopped to watch one of the street performers before continuing our afternoon through the French Quarter.

    Beignets and Gator Nuggets at Rex House Kitchen & Courtyard

    Our final stop was Rex House Kitchen & Courtyard, where we shared an order of gator nuggets and ended the afternoon with warm, powdered-sugar-covered beignets—

    the perfect sweet finish to a quintessential New Orleans layover.

    Why New Orleans Is Worth a Layover

    One of my favorite parts of this job is that layovers give me the opportunity to experience places—and meet people—I may never have otherwise. This afternoon reminded me that sometimes the most memorable part of a destination isn’t the sights at all. It’s the people who make you feel welcome.